Web Product (vers. 6)
General
This part of the handbook will guide you through the actual creation of products. We will limit our explanations on the system to the most important parameters, which are relevant for printQ.
Create
To add a new web product you need to press “Create”
Name
Here you name your new web product
Code
Here you define a unique code to identify the product in the system.
Type
Before changing any other settings, you will have to define the product type here. The following options are available for this:
Stock + Default PDF A simple stock product, whose specifications are listed in a PDF document that is created by default.
Personalization A product which can be personalized using the OTP Editor or Designer.
Upload This product requires for a base file (PDF) to be uploaded.
Upload + Configuration This product type requires for a base file (PDF) to be uploaded. Subsequently, the product can be configured with product part options.
Personalization + Configuration A combination of personalization and configuration product.
Upload + Personalization + Configuration A combination of uploaded base file, personalization and configuration product.
Upload + Personalization + Configuration + Packaging A combination of uploaded base file and a personalization and configuration product where the parameters of a folding box are dynamic.
Upload + Full Page Configuration A combination of uploaded base file and configuration options for product pages as a whole.
Personalization + Full Page Configuration A combination of personalization product and configuration options for product pages as a whole.
Upload + Personalization + Full Page Configuration A combination of uploaded base file, personalization product and configuration options for product pages as a whole.
LFP editor (Large Format Printing) A special editor mainly used for exceptionally large and/or multi-component products.
Description
Here you have the possibility to describe the respective category in more detail. The text is displayed above the product category in frontend. Search engine relevant terms (keywords) can be placed here
Matrix
Order of Product Part Options
If you use product part options, this is where you set the order in which you want them to be displayed. Simply use the ID numbers in the desired order and separate them by commas.
Enable Custom Format
This is where you decide whether the customer may change the format of his product or not. If you choose “yes”, an entry field will be displayed in the shop under “Format“, in which the customer can enter the desired height and width.
Enable Custom Quantity
Here you define whether the customer can freely choose a print run or a fixed scale shall be used.
Maximum/minimum Custom Quantity
If above you allowed customers to freely choose their production run, these two fields are used to define a minimum and maximum allowed product run.
Select Packing Unit
The minimum value is 1.
Enable Loading Cursor ( for matrix products )
The mouse pointer turns into a loading animation for matrix products, when paper, color, number of pages, etc is selected. As loading times are optimized, this function is hardly ever needed, for example in systems with very complex price and deny list structures.
Price Calculation Select
how prices for specific customer settings are to be calculated here. In addition to the standard prices (Normal) you can use your own fixed prices (Fixed), prices calculated based on specific templates (Calculation) or fixed prices with additional costs for further services (Combined).
Personalization
Open Editor in New Page
Here you can determine whether you want the editor to open in the same browser window or a new one.
Use Liquid Layouts in Editor
Here you can select whether Liquid Layouts should be used in the editor.
Others
Quantity selection
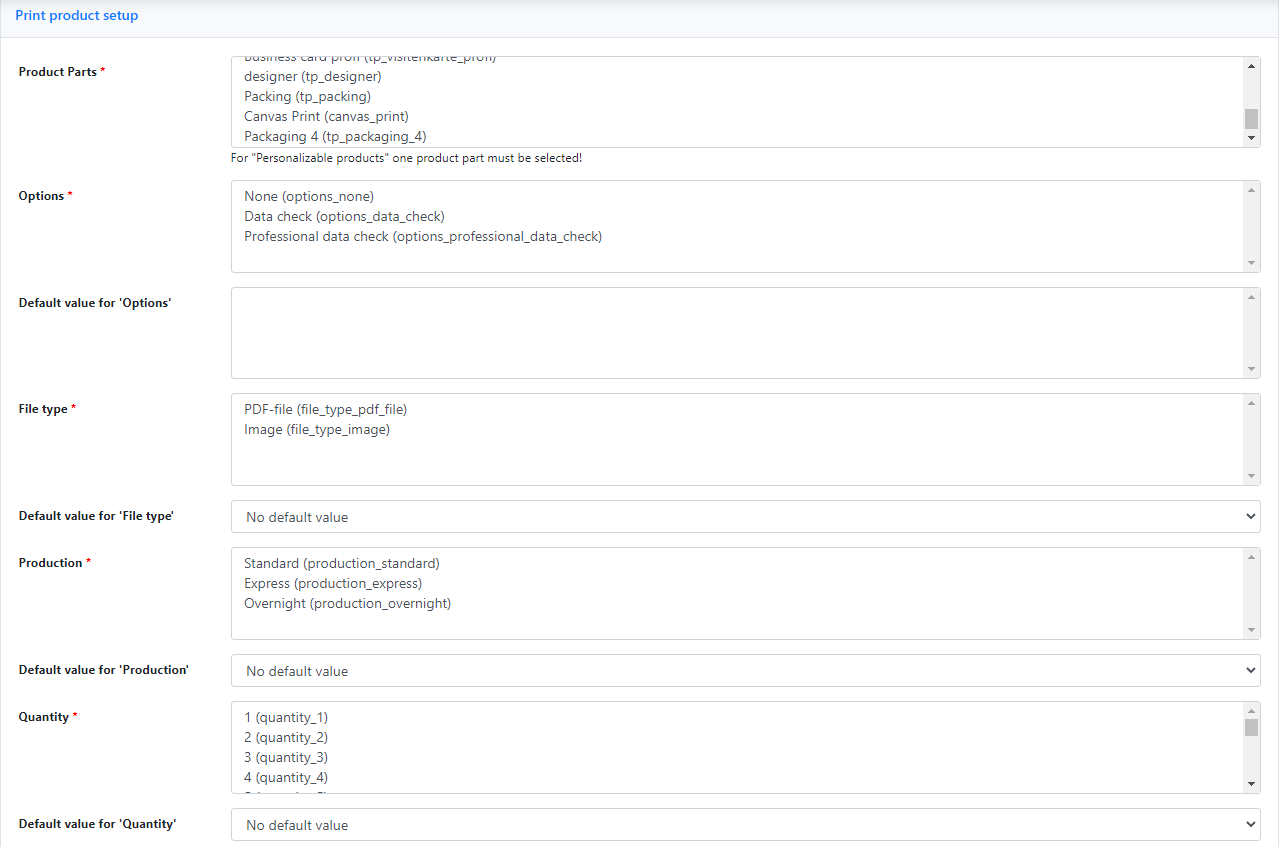
Print product setup
The settings in Print Product Setup are the last step to publishing your print product.

Choose all product parts you need for your print product, for a brochure, for example, content and cover.
Define a (common) standard value for the respective selected options, which you want to be set as your default value, or keep the setting “No default value“, in which case no default entry will be set in the front view of the shop.
Click “Save” to make the product available in your shop.
