X3 How to fold packaging models (X3 EN)
Whenever you create a new packaging model, it’s folded up automatically, which is handy, but not always done correctly. In case the automatic folding is wrong or not the way you want it to be, you can fold your model manually.
1. Meshes
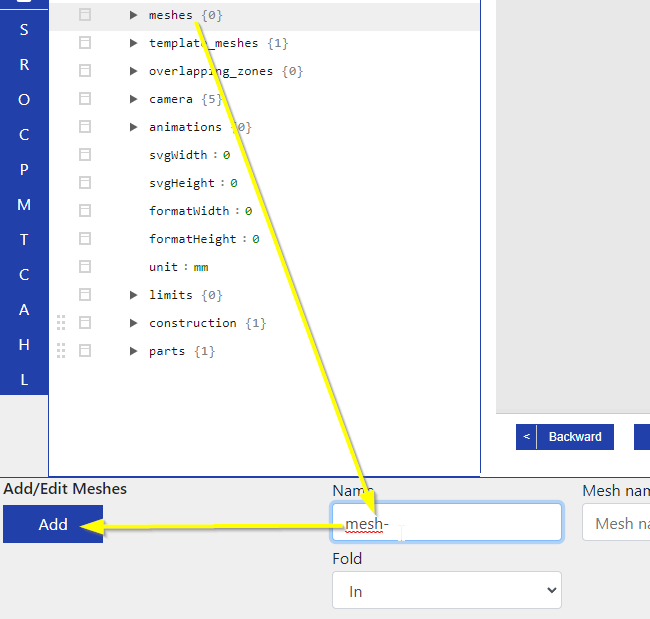
For this you will have to add the meshes, which you can do under meshes:
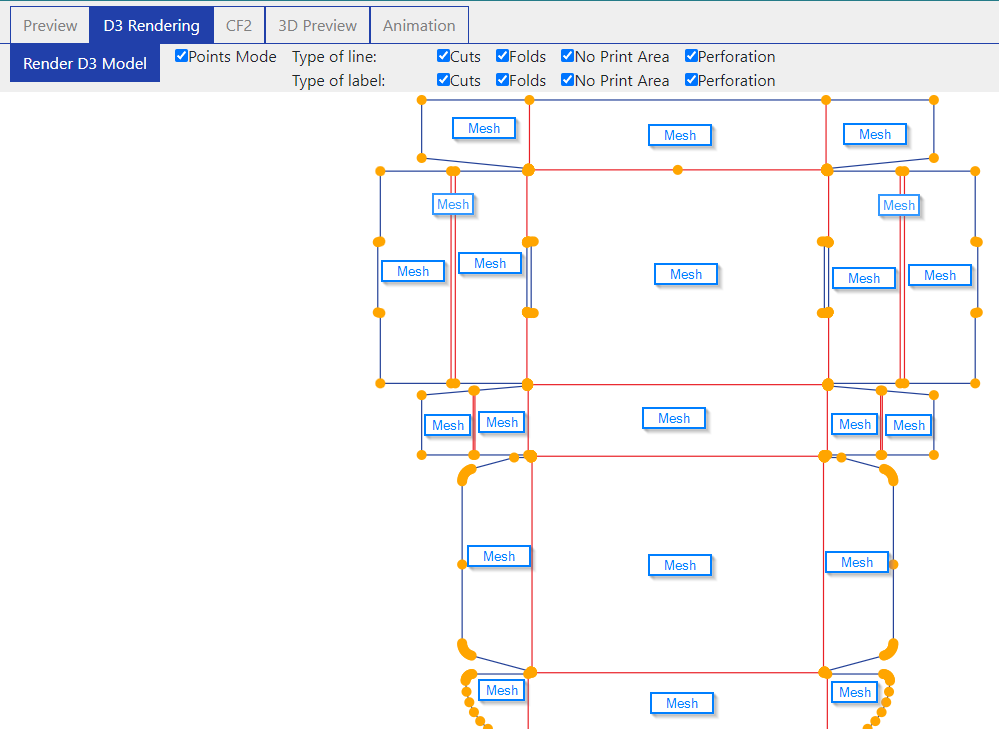
The D3 Rendering gives you an idea about how many meshes your model has and where they are located:
The total number differs from model to model. Our example has 21 meshes, but since the count always starts with 0, we have to add meshes 0-20, like this:
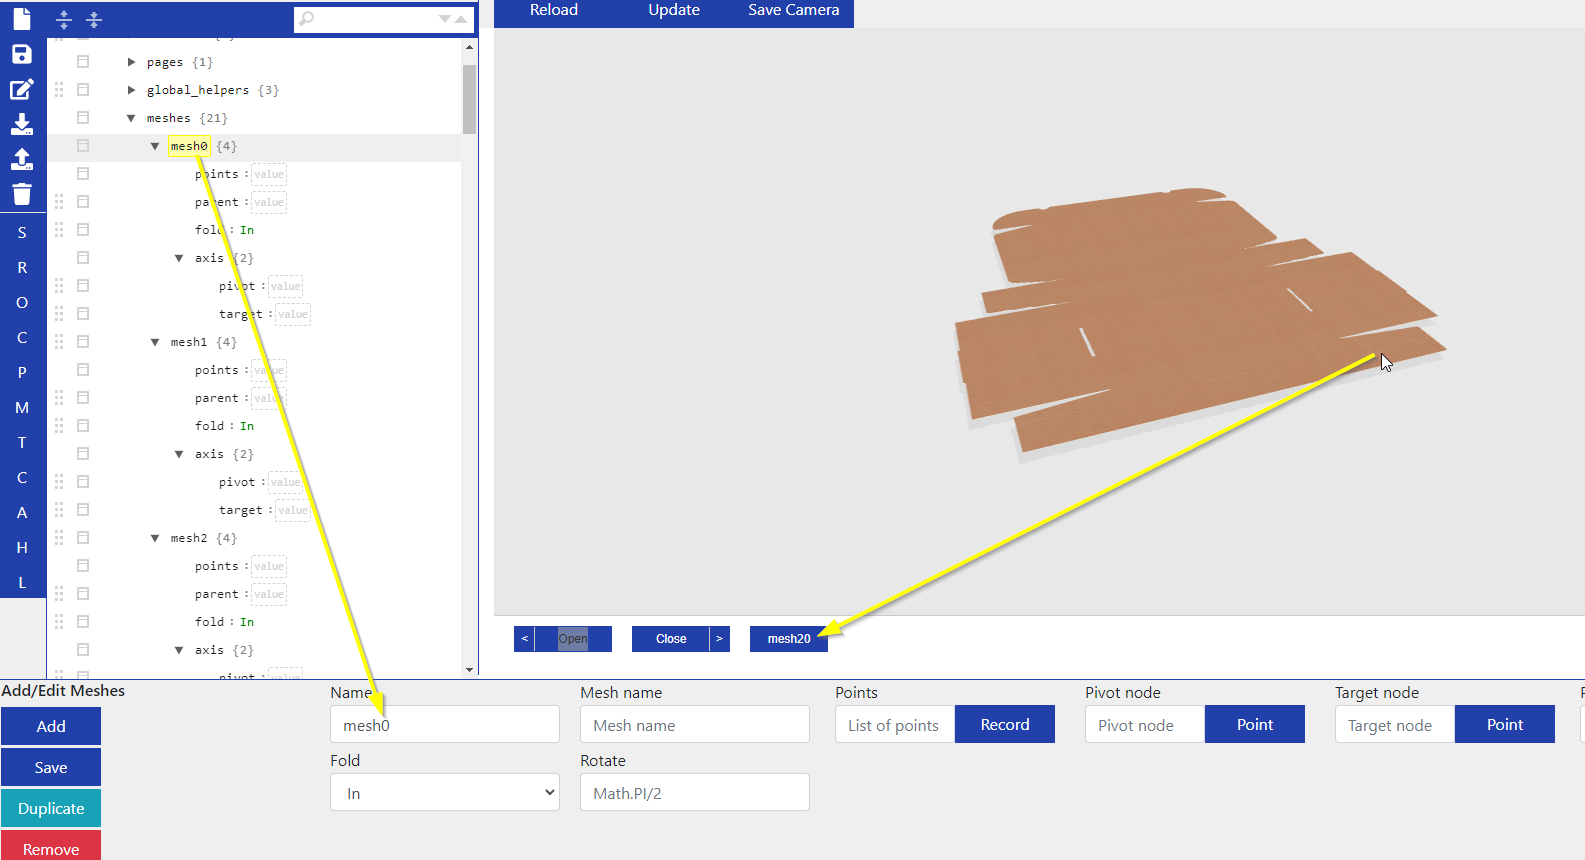
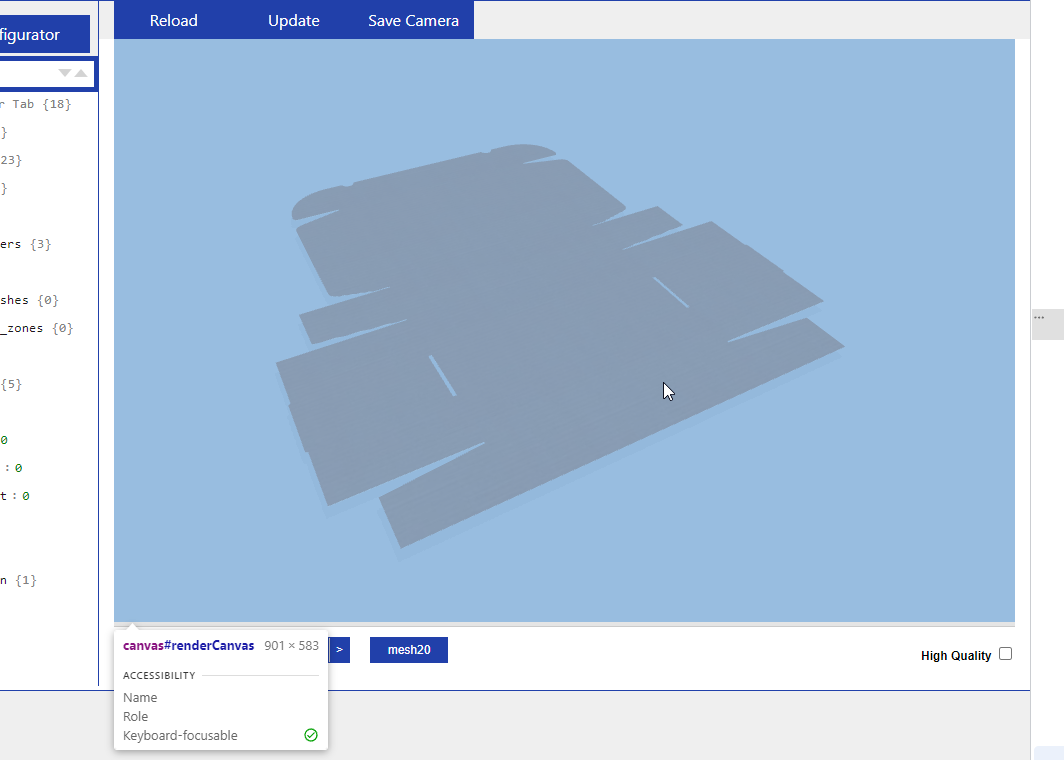
If you load the 3D Preview and click at one point of the box, you can see which mesh number it is. This only works for X1 systems though, older systems don’t have this view.
It’s important to add the numbers without space or special characters, like this: mesh0, mesh1, mesh2, etc. Otherwise the folding might not work.
2. Folding
After we have added all 21 meshes, we can now use them to add the folding order, which we will do in animations:
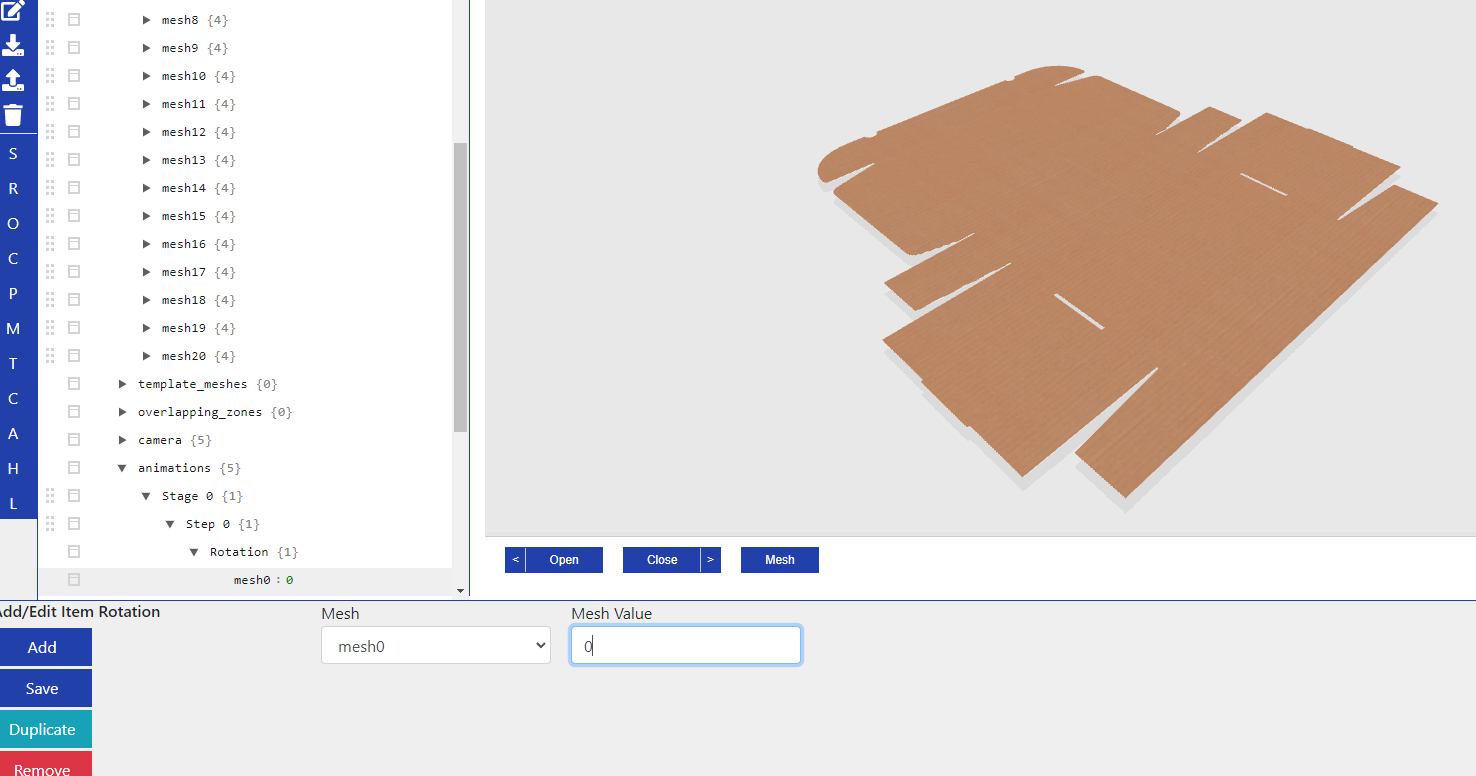
The separate Stages and Steps are, unlike the meshes, written with a space between number and name. Again we start with 0:
Write Stage 0 > Click on Add > Click on Add Step > Write Step 0 > Click on Add > Click on Add Rotation > Click on Add > Click on Add Item > Select Mesh 0 under Mesh and enter 0 as Mesh Value.
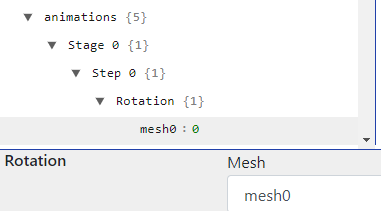
Mesh Value 0 in the first Stage makes sure the box starts off open.
The Stages following Stage 0 are the actual folding of the box step by step, or rather Stage by Stage. We go about it the same way as before, with one difference in the last part:
Write Stage 1 > Click on Add > Click on Add Step > Write Step 0 > Click on Add > Click on Add Rotation > Click on Add > Click on Add Item > Select Mesh xy under Mesh and enter Math.PI/2 as Mesh Value.
Please note that each Stage starts with a Step 0.
In the last part we select the mesh we want to fold when we click on Forward or Close in frontend. In our example we wil make meshes 2, 6, 15 and 20 fold by 90° (Math.Pl/2).
Here are the formulas that can be used in the Mesh Value:
Math.PI = 180 degrees
Math.PI/2 = 90 degrees
Math.PI/3 = 60 degrees, etc.
- Math.PI = - 180 degrees (folding in the other direction; outside)
- Math.PI/2 = - 90 degrees (folding in the other direction; outside), etc.
Each mesh folding has to be added separately under Rotation, like this:
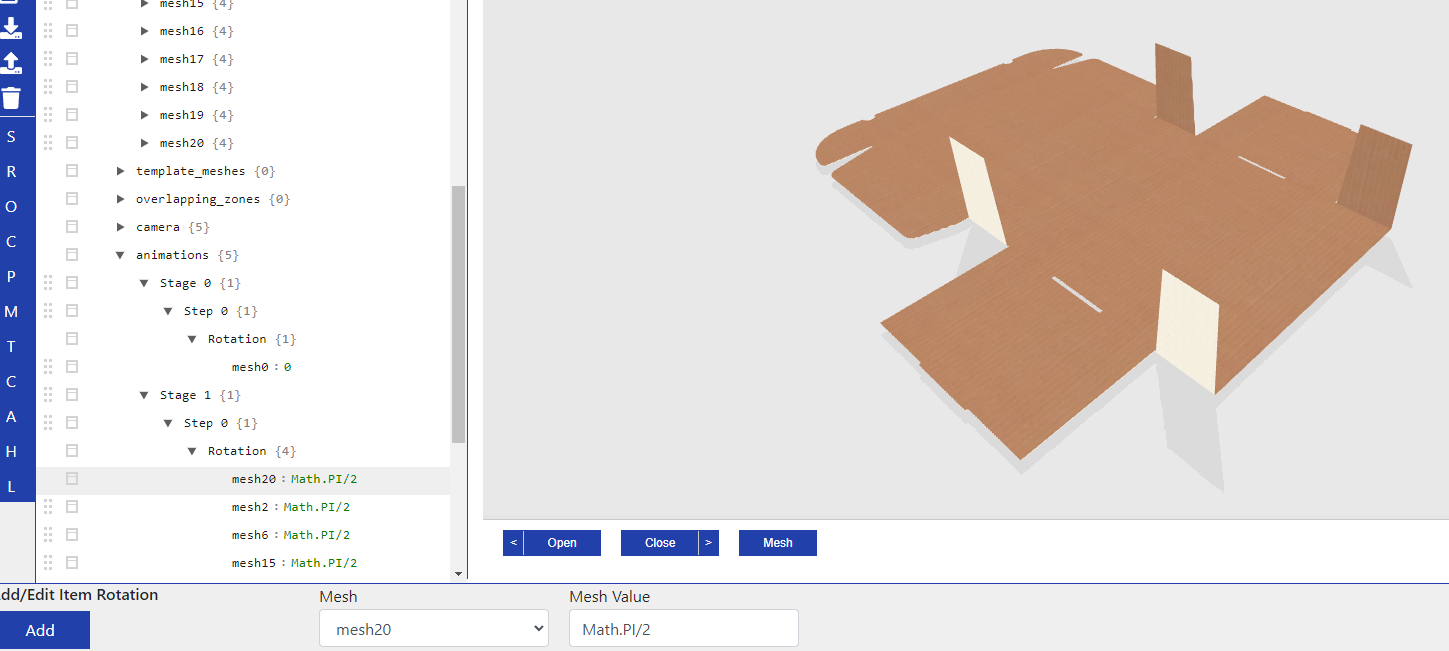
In the 3D you can now see the respective Meshes folding.
Please note that you will need to save the model and reload the 3D to see your changes applied:

We continue adding Stages, Steps and Rotations until the box is folded up the way we want it. In our example it looks like this:
Stage 2
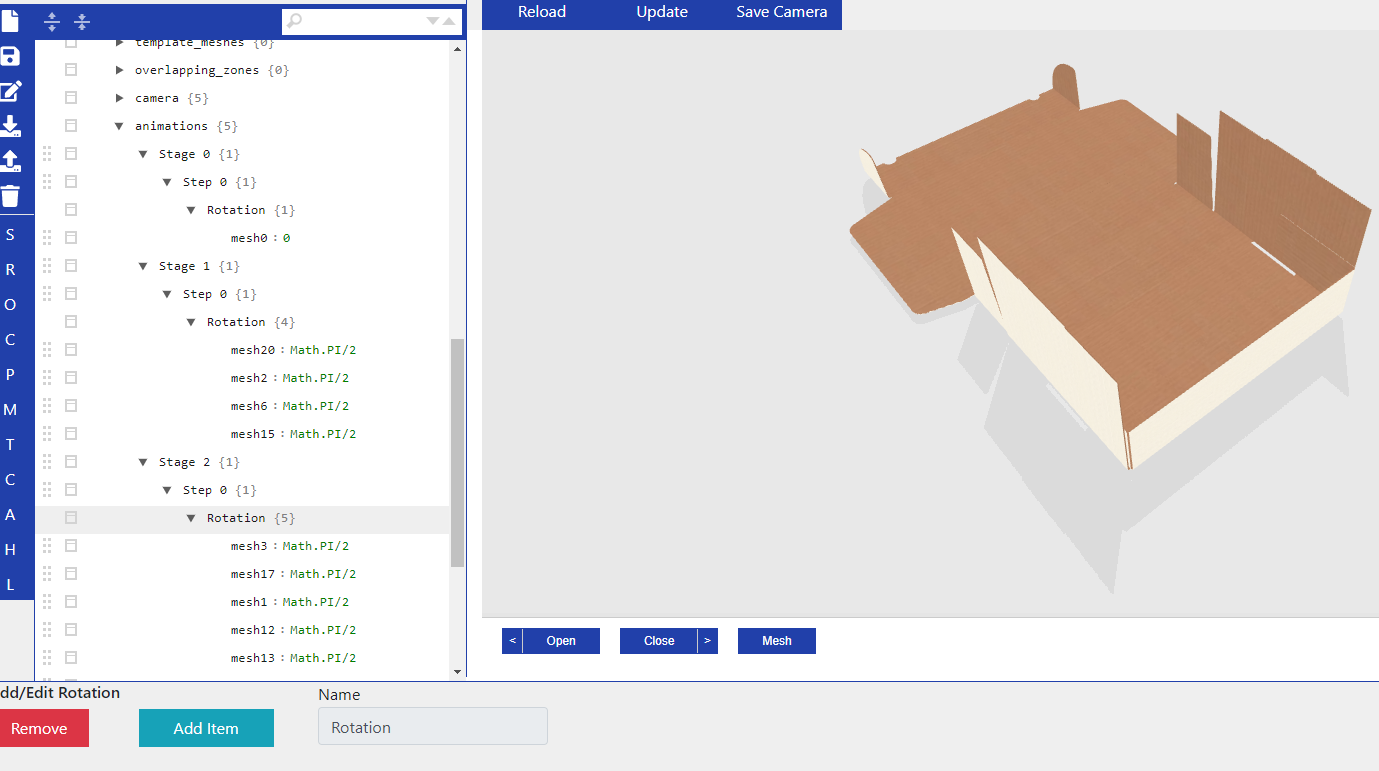
Stage 3
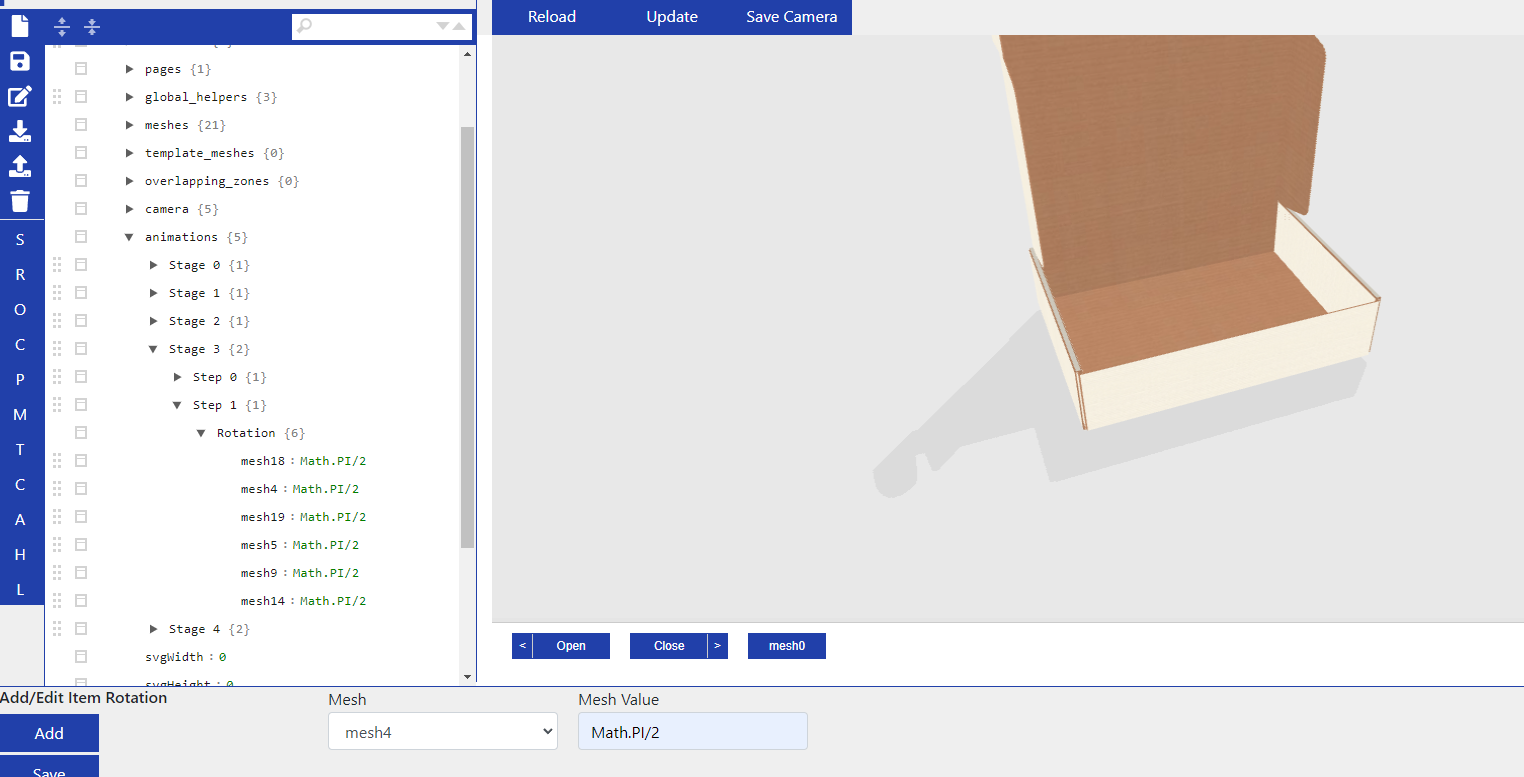
In Stage 3 we have added a second step, Step 1. One click on Close or Open switches between Stages, so what does having several Steps mean?
It means that the folding is staged into as many parts as you have Steps. First mesh7 from Step 0 will fold. After a second's pause the meshes of Step 1 will fold. No need to click on anything to trigger the Steps.
We will do the same with Stage 4, the closing of the lid, that is staged. First the lid comes down (Step 0):
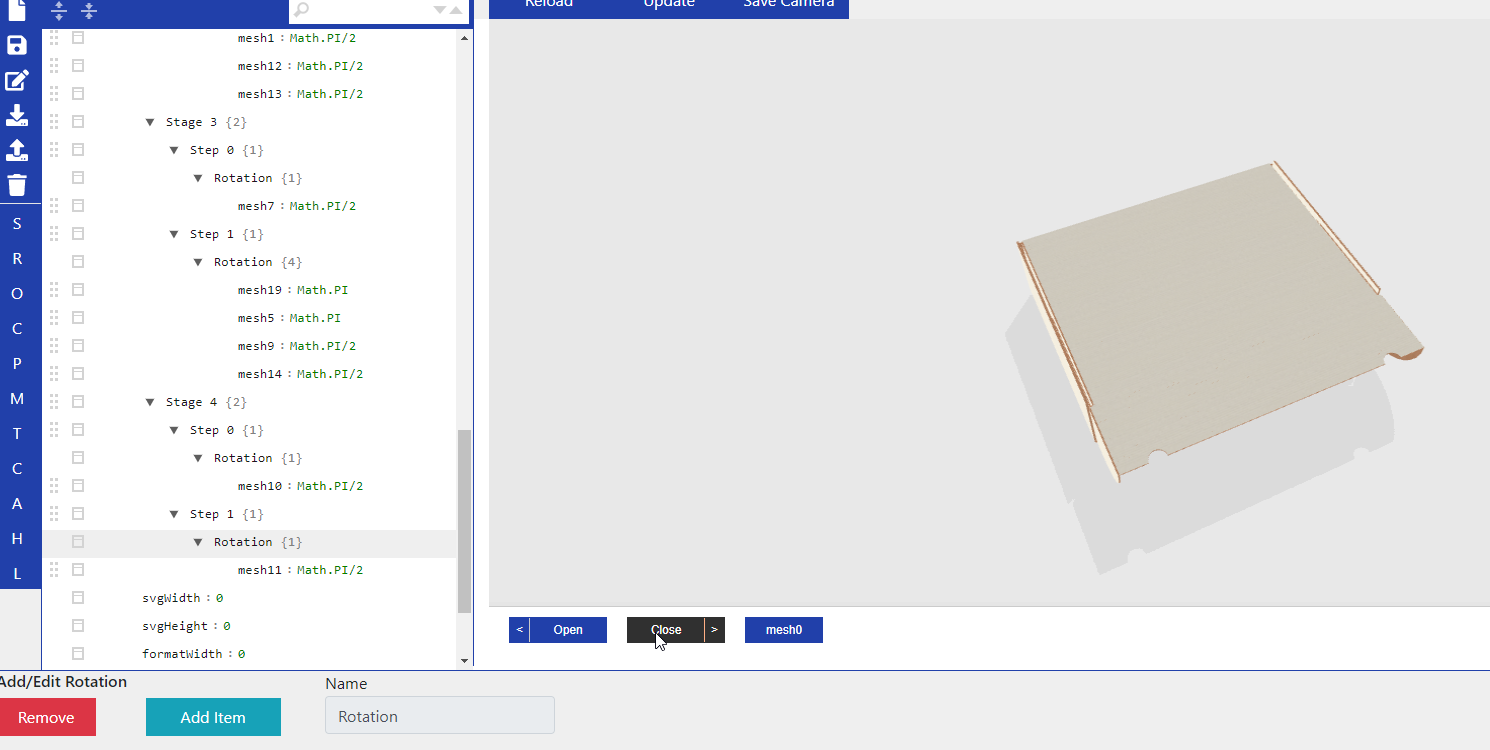
Then the lid tucks itself in (Step 1):
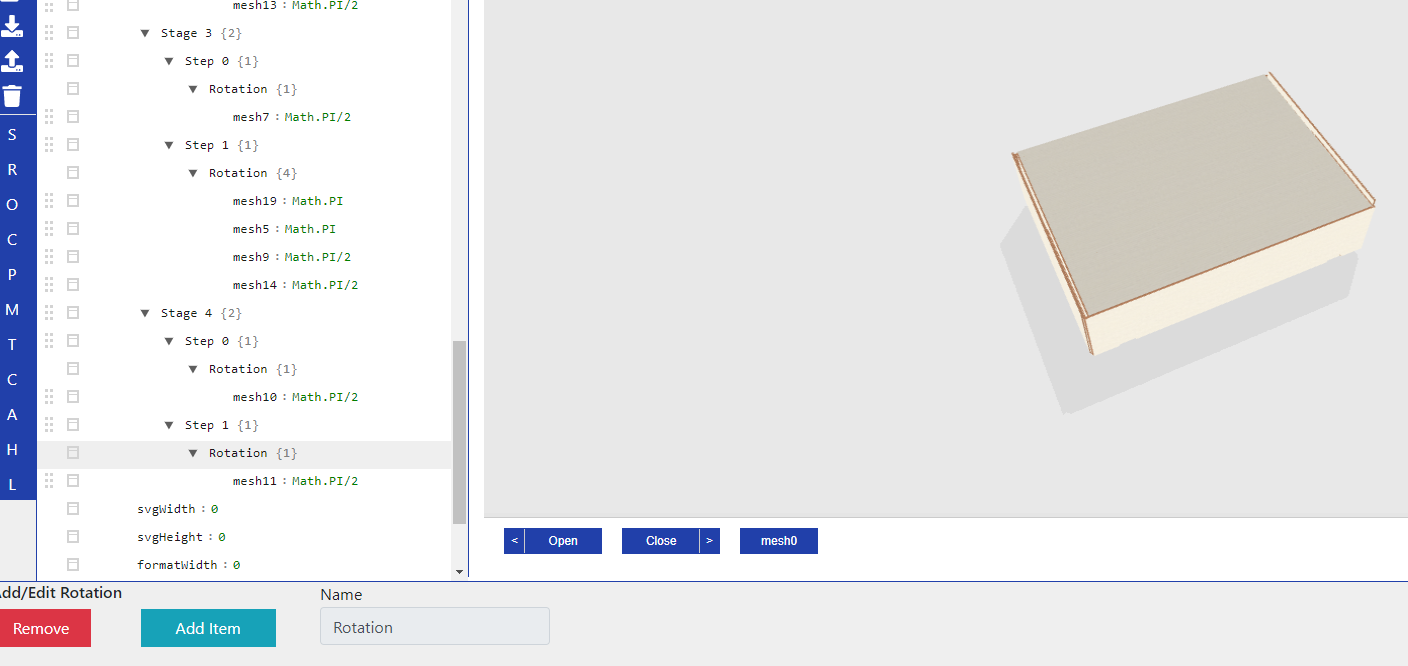
This looks smoother and sometimes there are to many Stages in one model. Maybe you don’t want the customer to have to click on the Close button too often. But if you put too many meshes into one Step, the folding might look quick and sudden. So it might be beneficial to stage the folding into different steps.
Speaking of, we have folded our box successfully!


