Selection Rules (vers. 6)
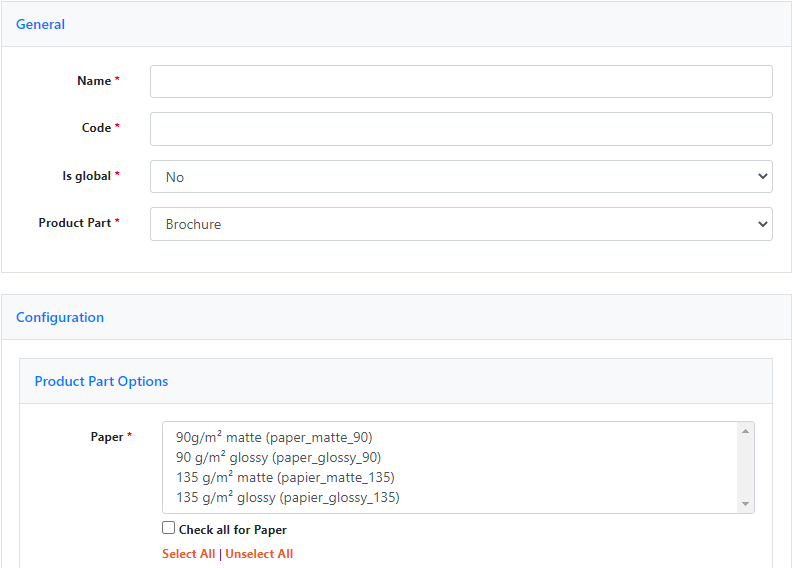
Under CloudLab – Data center > Web Product > Selection Rules you should now configure the respective selection rule for the deny rule you just created, in the same way you created the deny rule above. Click Create and choose a name and a code for the selection rule list (the latter, too, can only contain lower case letters, no umlauts, and underscore “_” as the only permitted special character) and decide for which product parts the selection rule shall be applied. Following our product part example, select the same brochure as for the deny list.
Now choose all options, for which the deny rule shall be applied. Check the option Select All under all non-relevant fields. In our example, click and mark all page numbers exceeding 32 pages in the field Pages to make the more heavy paper types unavailable for these. Select the appropriate new deny rule below and click “Save”. In the shop view, paper weights of more than 135g/m² will not be displayed anymore for products of more than 32 pages.
You can create as many deny and selection rules for one product and thus prohibit as many combinations as needed.
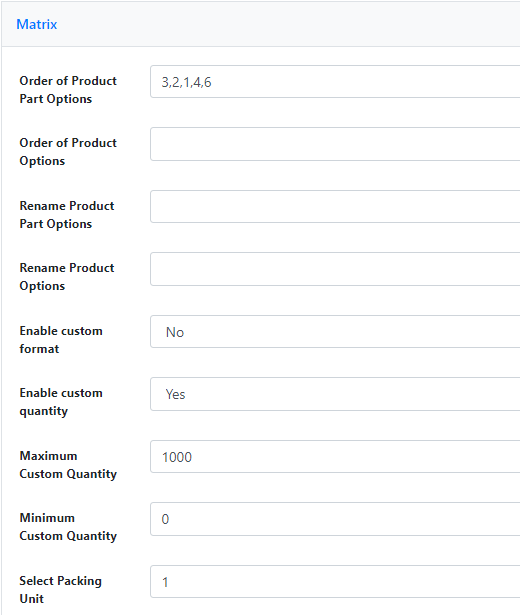
Please note: If you created a simple deny rule, as described in our example, it can be useful to display that characteristic, which defines your deny rule, first in the product view. Therefore, you should change the sorting order of the product part options under Web Product > Web Product and choose your brochure. Click on Web2print settings in the menu below and change the order of product part options under Matrix by rearranging the numbers separated by a comma.

In our example, we would put Pages (3) first, to make sure the system doesn‘t offer your customers a paper type which wouldn‘t be available later, should the desired number of pages exceed a certain value. If you put Pages first, prohibited paper weights will not be displayed in the following steps.

