
Personalization template mapping (vers. 6)
A Template Rule assigns a PDF-template to a certain matrix selection. You can provide additional personalization options depending on the selected configuration for a product, which the customer configures as matrix product in frontend. If, for example, the customer selects a certain format for a flyer in the matrix selection, a personalization template can be assigned to this format.
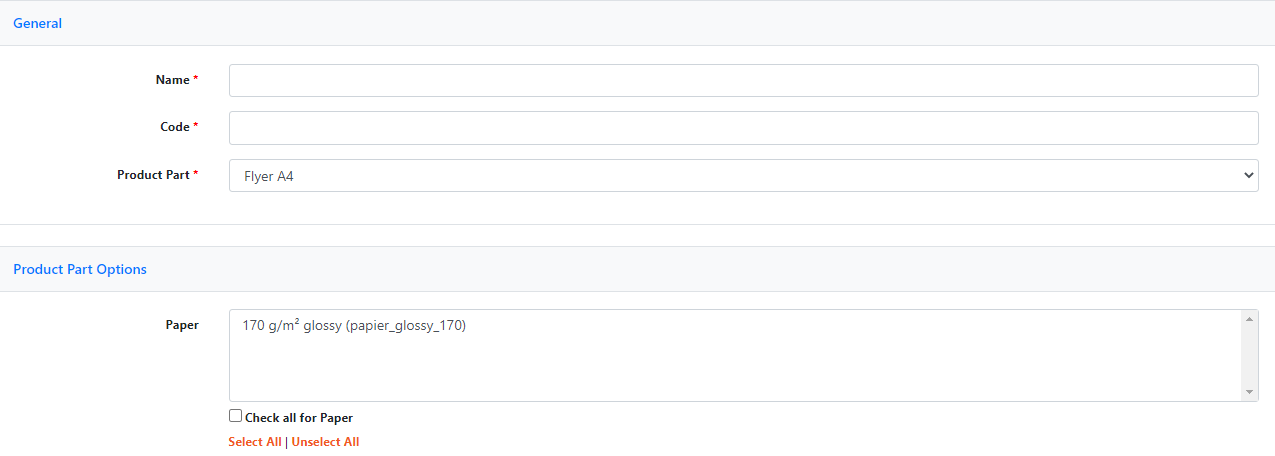
Switch to the menu CloudLab > Datacenter > Web Product > Template Mapping and create a new Template Rule by clicking Create. Appearance and function of the selection screen correspond with the select and deny rules. After you have assigned a unique name to the Template Rule as well as a code according to the relevant requirements and selected a product part, you can now select the product part option, which you want to be applied for this template rule. In our example we define that the personalization template “flyer 3-column layout” shall be applied for the formats DIN A4 portrait and landscape.
Hence, you should first create the personalization template under Personalization > Templates.
In Web Product > Web Product

you can now select your product (here: the flyer) and define the product type “Personalization and Configuration“ in the Web2print settings. Now select the personalization templates to be applied for
certain product part options in Print Product Setup and save the product.

In frontend the user can now further personalize your predefined matrix configurations.