X2 Settings (template, config)
Name
Set the name for your template. This name does not have to be unique like the code.
Code
The code must be unique, it can be a name like calendar_a4.
We recommend not using spaces, special characters, or capital letters in the code name. Only small letters, numbers, and underscores.
Description
Here you can add a short description for your template. This description is only visible in the backend and does not influence the description on the product page.
Templates type
Here you need to select what type of template you want to use. You can choose between three different options by default:
CUSTOM
If you choose CUSTOM for your template type, you get the new option to create your template without uploading a PDF or InDesign file. For more information on the CUSTOM option, see below. The CUSTOM template type is only available for Designers.
If you select PDF, you can upload a PDF in the tab of the same name. For more information on what you can do, see the PDF section. The PDF template type is available for the Form, PDF/VT, OTP, and Designer editors.
InDesign Package
If you select this option, you can choose an InDesign Package in the tab of the same name. The InDesign Package template type is available for the Form, PDF/VT, OTP, and Designer editors.
Template source
Here you can choose whether you want to use one of your templates or access our template gallery.
Editor
Here you can choose which editor you want to use for your template. You can choose between PDF VT, OTP, Designer, and Form.
Each editor gives you different options and changes the options you can choose from. For example, if you choose Form and PDF VT, the Options tab will be hidden because these are options for Designer and OTP only.
DPI range for quality check
Here you set the range in which the smileys change as a quality feature for uploaded images in the editor (OTP and Designer).
Live Template
Here you can select your live template. The list shows all currently installed PSD live previews. If you are looking for information on how to set up a new template and add it to the system, please read Product previews (Basic, Live, 3D) (vers. 6)
SVG Live Preview
Here you can select your SVG Live template.
If you are looking for information on how to set up a new template and bring it into the system, please read Product previews (Basic, Live, 3D) (vers. 6)
After you create the template, follow these steps to make the new preview available on the backend
Log in to your FTP server and place the SVG in
/external/public/personalization/svg_live_template2. After you have placed the file, go to:
external/config/liveSvgConfig.php3. And write the following in it:
<?php
return [
    'svg' => [
        'test.svg'             => 'Svg Template',
        'next.svg'             => 'Sample Name'
    ]
];
The first entry must be the name of your SVG template that you uploaded earlier. The second name is the name in the dropdown from the external backend:

4. Save the PHP file and select your SVG in the external backend.
Preview type
Here you can choose what type of preview you want for the editor. You can choose between Basic Preview, 3D Preview, Live Preview, and SVG Live Preview.
Basic Preview
This is the default preview that shows you your final product as a simple sheet.
3D Preview
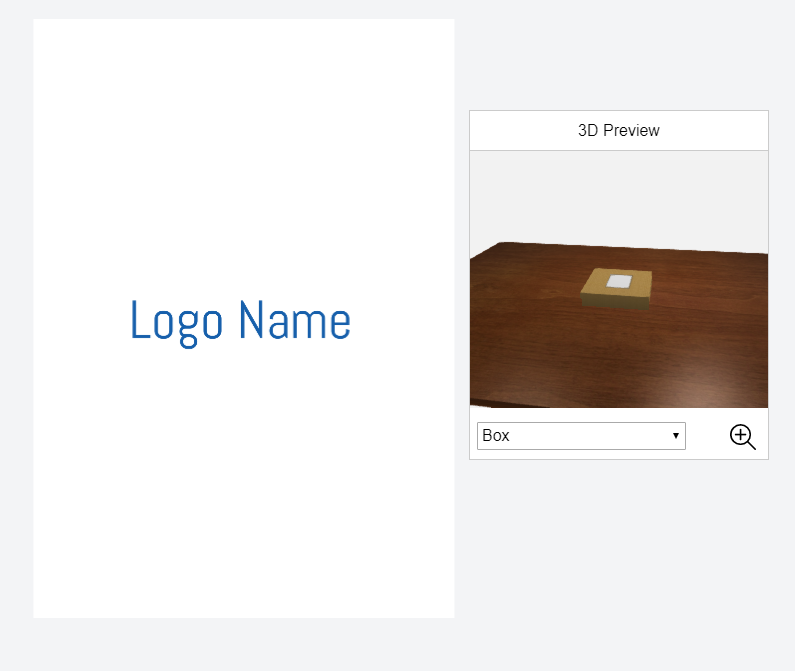
In this preview, you can view a live rendered 3D object on which your print product is displayed. You can choose which 3D object to display by selecting the submodels in the Options tab.
Live Preview
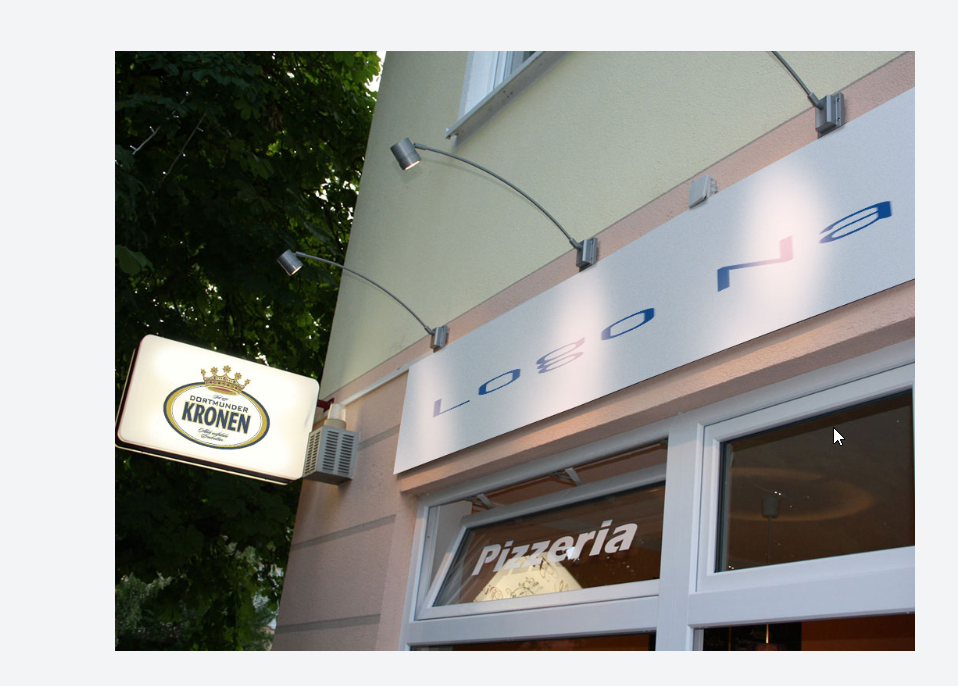
The live preview shows the print product on a specific object and not on a flat plate. Compared to the 3D preview, the customer cannot rotate the preview.
SVG Live Preview
Here you can select an SVG as a live preview that allows the customer to print the product on various forms, as shown in the example below:

If you are looking for information on how to set up a new template and bring it into the system, please refer to Product previews (Basic, Live, 3D) (vers. 6) .
Preview resolution
Here you can set the default resolution of the preview. Based on the resolution the size of the preview image will be adjusted. If you have a very small PDF you should keep the value low, if you have a very large PDF you should increase it.
This guarantees good quality, but also a fast rendering of the preview image.
High-Resolution Preview (Only for Form Editor and PDF/VT Editor)
In the frontend there is a "High resolution" checkbox for the form editor. Here you can set the value for the high-resolution preview.
Please note that the high-resolution preview takes longer to render. We recommend not to set the resolution too high to avoid long loading times for your customers.
File output
Here you can choose what kind of file you have in the preview. The preview is an image in the editor of the print PDF. You can choose between JPEG, PNG, or transparent PNG here.
JPEGs are for photos and realistic images if you have them in your print file. PNGs are for line drawings, text-heavy images, and images with few colors. If you don't want the background of the print file to be white, you can use the transparent PNG option.
Please note that when you use Live Preview, the system automatically configures PNG Transparent to ensure that the Live Preview background is visible.
Trim box
If your template contains a trim box, you can set whether or not the trim box is used in the preview. This does not affect your final print file, only the preview that the customer sees.
If Trimbox is set to Yes, the preview will be cropped to the final format.
If Trimbox is set to No, the trim will be visible in the preview.
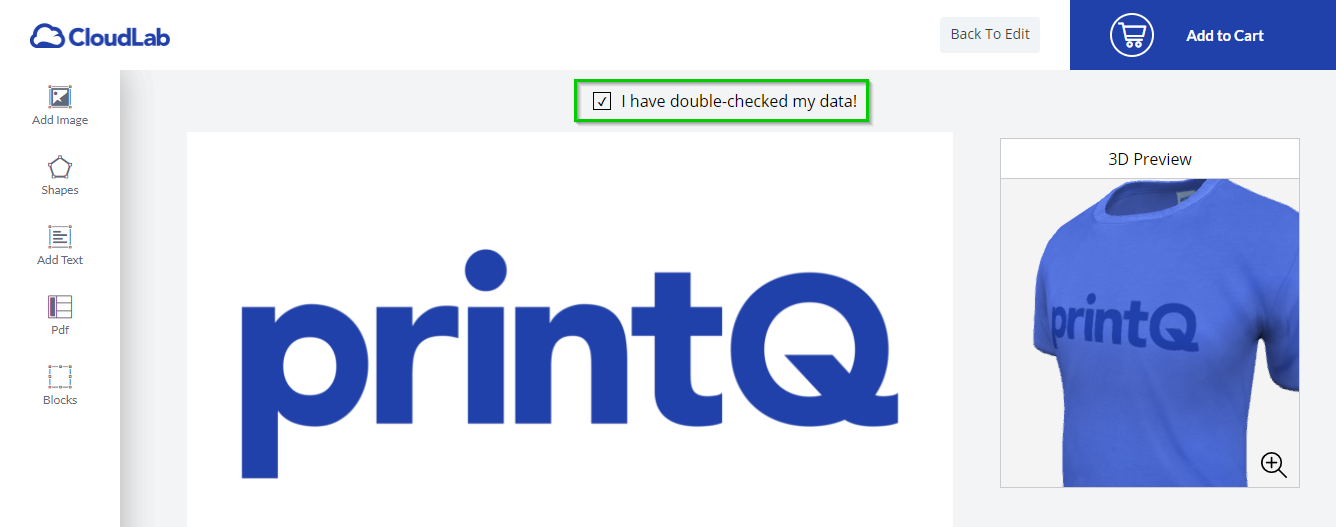
Enable Confirm Print Preview checkbox
If you enable this option, the customer will have the possibility to add a product to the cart only if he has checked the "I have checked my data" checkbox.
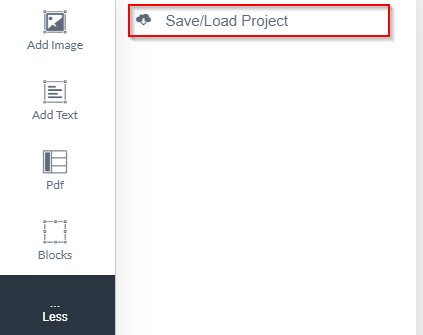
Allow personalization Save/Load
With this option, you enable or disable the possibility to save your project in the frontend. This works only for logged-in customers.
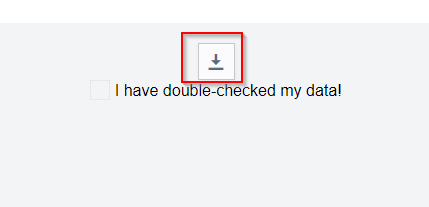
Allow download as PDF
With this option, you enable or disable the possibility to download your PDF after editing it in the frontend.
Personalization pages
Specify the number of personalization pages.
Project Personalization Default ID (Form Only)
Used when the customer uses the “Save and Continue” button in the form editor. This ID is used as the title of the project that will be saved.
Project personalization subtitle notes (Form only).
Before you can use this field, you must enable the Use Subtitle Notes option in the CloudLab > Data center > Settings > Editors menu item.
After you enable the option, subtitle notes will be enabled.
Now you can note the subtitles here as in the following example:
Subtitle 1; Subtitle 2; Subtitle 3.
Watermark in preview
Here you can enable or disable whether the watermark should be visible in the preview.

Watermark size
Changes the size of the watermark. Specified in pixels.
Text of the watermark
Here you can set the text of the watermark that will be placed over the personalization template.
Color of the watermark
Here you can change the color of the watermark. It must be set in RGB.
Watermark Opacity
Here you can set the opacity of the watermark text. The input must be a number between 0 and 10, where 0 is "transparent" and 10 is "fully visible".
Auto Preview (Form only)
Used to immediately generate a preview when you enter the editor.
Use Downsized Images for Preview
Resizes images for preview so that they don't take long to load if the images in the template are large.
Enable saving customer personalization data (form).
Here you can enable or disable the "save data" function.
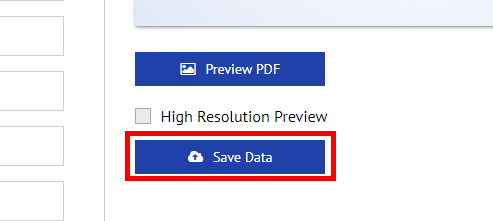
This allows your customers to save the data they have entered. Make sure that the exact name of the personalization variable is entered as a value in the corresponding pdf-lib blocks. (more information here: X2 PDFlib Block Properties (v6 EN))
Allow Article Load + Article Load File
Here you can enable the Article Load function and also select the file you want to use for your product.
Enable white underprint
Here you have the possibility to create a white underprint in the designer, which will be placed under images/texts.
Stores
Here you decide if the template is only visible for a specific store view within the data center.
