X2 Application of a multistore (X2 EN)
MULTISTORE
Each store (and its store) needs its own main category to ensure the correct assignment of products and stores.
Therefore, create this distinctive main category for your new store at the beginning. To do this, select the Categories subitem under Catalog and click New Main Category. Now give your main category a name and enter it in the corresponding field. You are free to fill in the other fields as well to further specify the definition. However, this is not absolutely necessary.
Finally, activate your main category as shown in the screenshot.

STORE CONFIGURATION
Now click on Create Website under Stores > All Stores in the upper right corner. This way, first create the website and then, using the buttons next to it, create the store and finally the store view.
When creating the website, the system will prompt you to enter the website code. Please define it logically to clearly distinguish the stores from each other. It is important that it is and remains unique.
Please note: the code must always be written in lowercase letters and/or numbers and underlined, and must start with a letter.
Now enter your distinctive code.

The next step is to add the store. To do this, give it a name and assign it to the new website (My new website). Then select the main category you created at the beginning.

Finally, the Store View must be set up. Among other things, it is used for multilingual use of the store and offers the possibility of alternative product presentation and description. For example, it allows the store to be designed in a completely different look, with a different color scheme, and so on.
The code should also have structure and be chosen sensibly. Please make sure to select the correct store and then activate it by setting the status to Enabled.

CONFIGURE URL
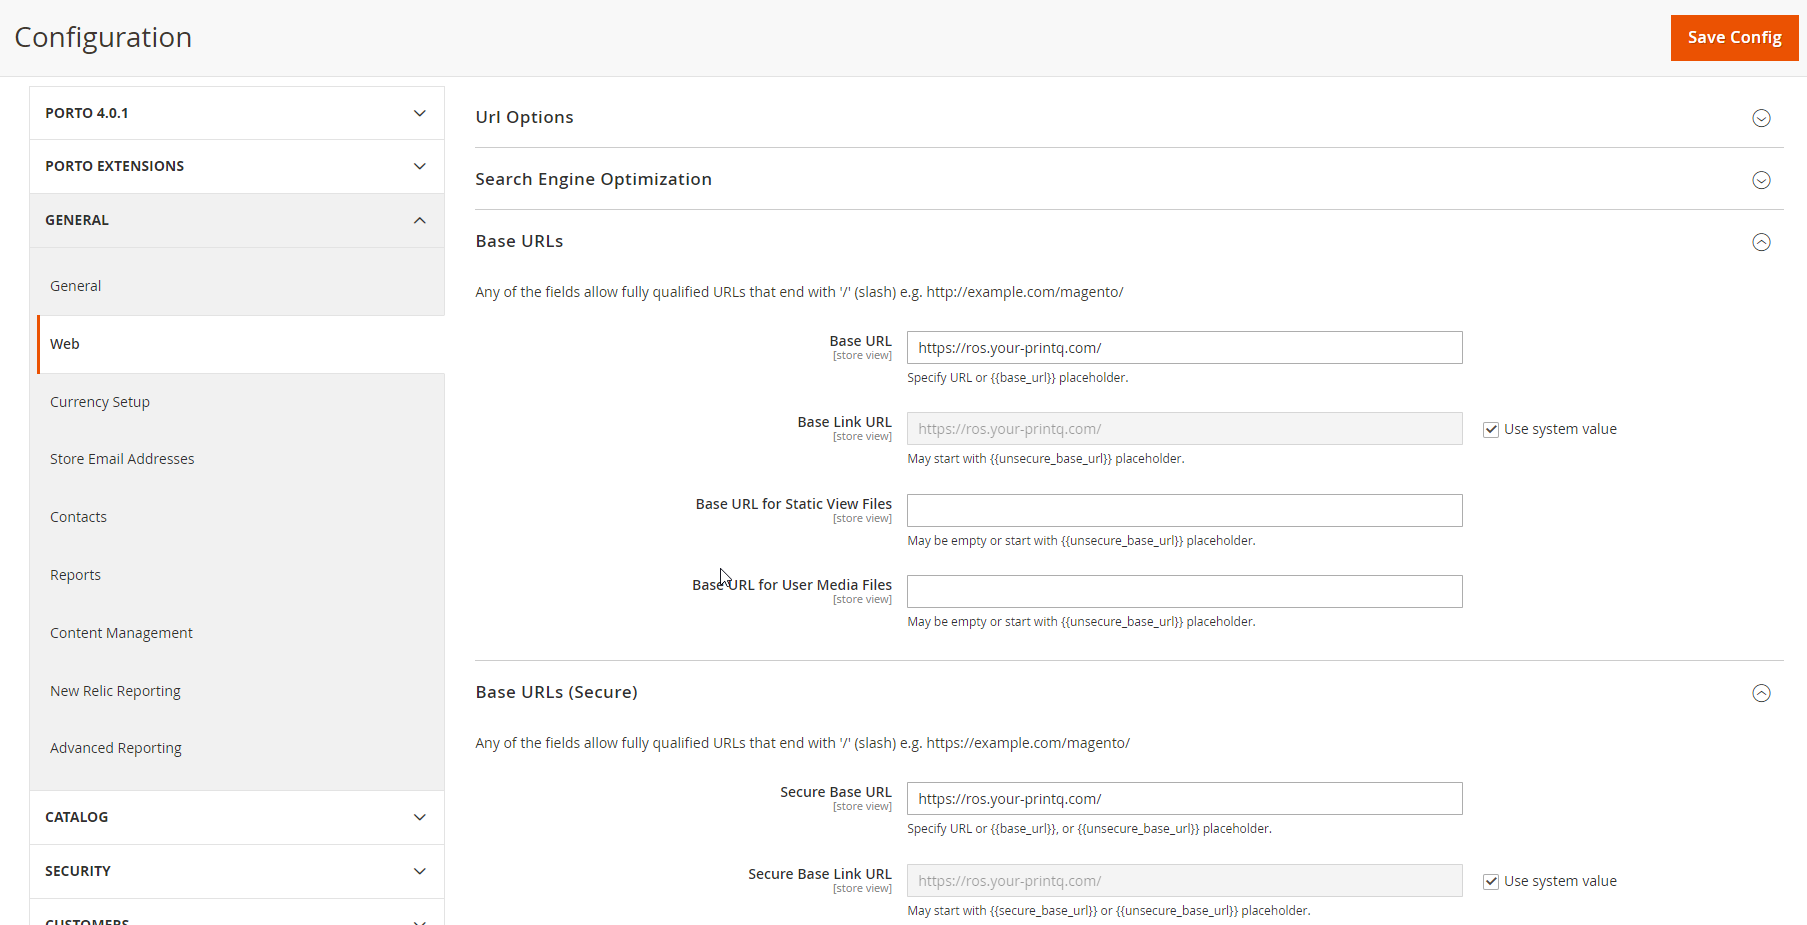
To complete the creation of the new store, click Stores > Settings > Configuration in the left menu, and then click Web under General in the Postage menu. Then, at the top of the bar, under the Configuration heading, select your new website in the “configuration” section. Then select the "Base URLs" and "Base URLs (Secured)" sections. Now define the base URL for your new store there.
Example:
https://customer1.your-shop.com/
If you have already entered https here, the browser will probably display a warning message when opening the page that no certificate is installed. This can only be installed by CloudLab Support. Please get in contact with us.

Linking with the Datacenter Store View
The next step is to link the store views from Magento and the Datacenter. To do this, go to the Magento menu Stores → Configuration → Select Store View → PRINTQ → Datacenter. Here you only need to assign the Datacenter store code. This must be identical between Datacenter and Magento. After you have saved the setting, the connection jam will be displayed.

CUSTOMIZE .HTACCESS
BEFORE YOU START!
Always make a backup copy of the server files before you edit them, so you can easily jump back to the previous version.
The last step is to customize the .htaccess. To do this, you must first log in to your store's FTP server using an FTP client, such as winSCP. Now open the ".htaccess" file located in the root directory.
At the end you have to set environment variables, which look like this:
SetEnvIf Host .*www.your-url.com* MAGE_RUN_CODE=new_webseite
SetEnvIf Host .*www.your-url.com* MAGE_RUN_TYPE=website
Copy the two lines and replace the URL and in line 1 the code.
Now refresh the caches and the new website is available!
