X1 Web Product (Config)
GENERAL
This part of the manual will guide you through the actual creation of products. We will limit our explanations of the system to the most important parameters that are relevant for printQ.
The Web product settings, a CloudLab-specific sub-item when creating new articles under CloudLab > Data center > Web Product > Create, is where the most important settings for an article are made. The following sections describe how the basic options in this menu item work.
Name
Here you name your Web Product
Code
Here you define a unique code to identify the product in the system.
Type
Before you make any other settings, you must define the product type here. The following options are available for this:
Stock + Default: PDF A simple stock product whose specifications are listed in a PDF document created by default.
Personalization: A product that can be personalized using the OTP Editor or Designer.
Upload: This product requires that a file (PDF) be uploaded.
Upload + Configuration: This product type requires a base file (PDF) to be uploaded. Then the product can be configured with product part options.
Personalization + Configuration: A combination of personalization and configuration products.
Upload + Personalization + Configuration: A combination of uploaded base file, personalization, and configuration product.
Upload + Personalization + Configuration + Packaging: A combination of an uploaded base file and a personalization and configuration product where the parameters of a folding box are dynamic.
Upload + Full Page Configuration: A combination of the uploaded base file and configuration options for the product page as a whole.
Personalization + Full Page Configuration: A combination of personalization product and configuration options for product pages as a whole.
Upload + Personalization + Full Page Configuration: A combination of uploaded base file, personalization product, and configuration options for product pages as a whole.
LFP editor (Large Format Printing): A special editor used mainly for particularly large and/or multi-part products.
Description
Here you have the possibility to describe the respective category in more detail. The text is displayed above the product category on the frontend. Search engine relevant terms (keywords) can be placed here.
Stores
Here you decide if the web product is only visible to a specific store view within the data center.
MATRIX
The following options depending on your selection under "Type".
The sequence of partial product options
If you are using product suboptions, specify the order in which they should be displayed here. Just use the ID numbers in the order you want and separate them with commas.
Order of product options
Rename page options (product part)
If you want to rename product suboptions, enter the names according to the following scheme: "oldName: newName;".
If you rename more than one option, separate the word pairs with semicolon.
Rename page options (product)
If you want to rename product options, enter the names according to the following scheme: "oldName: newName;".
If you rename more than one option, separate the word pairs with semicolons.
Allow custom format
Here you decide whether the customer is allowed to change the format of his product or not. If you select "yes", an input field will appear in the store under "Format" where the customer can enter the desired height and width.
Allow user-defined quantity
Here you define whether the customer can freely choose an edition or a fixed scale should be used.
Maximum/Minimum user-defined quantity
If you have allowed customers to freely choose their production quantity above, these two fields will be used to define a minimum and maximum allowed product quantity.
Select packaging unit
The minimum value is 1.
Activate loading (for matrix products)
The mouse cursor turns into a loading animation for matrix products when paper, color, number of pages, etc. are selected. Since the loading times are optimized, this function is rarely needed, e.g. in systems with very complex price and prohibition list structures.
Price calculation
Select here how prices should be calculated for specific customer settings. In addition to the standard prices (Normal), you can use your own fixed prices (Fixed), prices calculated on the basis of certain templates (Calculation), or fixed prices with additional costs for further services (Combined).
Activate spine calculation
Activate square meter price list
PERSONALIZATION
Open editor on a new page
Here you can specify whether the editor should be opened in the same browser window or in a new window.
Use Liquid Layout in Editor
Here you can select whether Liquid Layouts should be used in the editor.
FURTHER
Quantity selection
LFP EDITOR SETTINGS
This option and the following options are only active if you select "LFP Editor (Large Format Printing)" under "Type" above.
Enable sockets
Here you can choose whether the editor should contain placeholders for sockets (in different sizes). This is useful if you want to give your customers the possibility to configure e.g. back panels of kitchen units or similar with the LFP Editor.
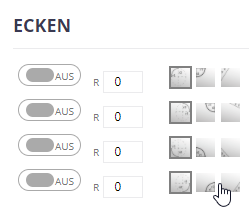
Enable corners

With this function, the customer can simulate different corner cutouts.
Enable Recesses
This function allows the positioning of outlines of rectangles and circles on the surface. This allows the customer to simulate cabinets or pipe holes in a wall.
Split PDF
If the product designed with the LFP Editor is very large, you can select "yes" here and the PDF print file can be split into several parts.
Default image
Here you select the image that should be displayed by default on the print area after opening the LFP-Editor.
Image Gallery
In this list, you can add images that should be available for your customer to design with the LFP-Editor.
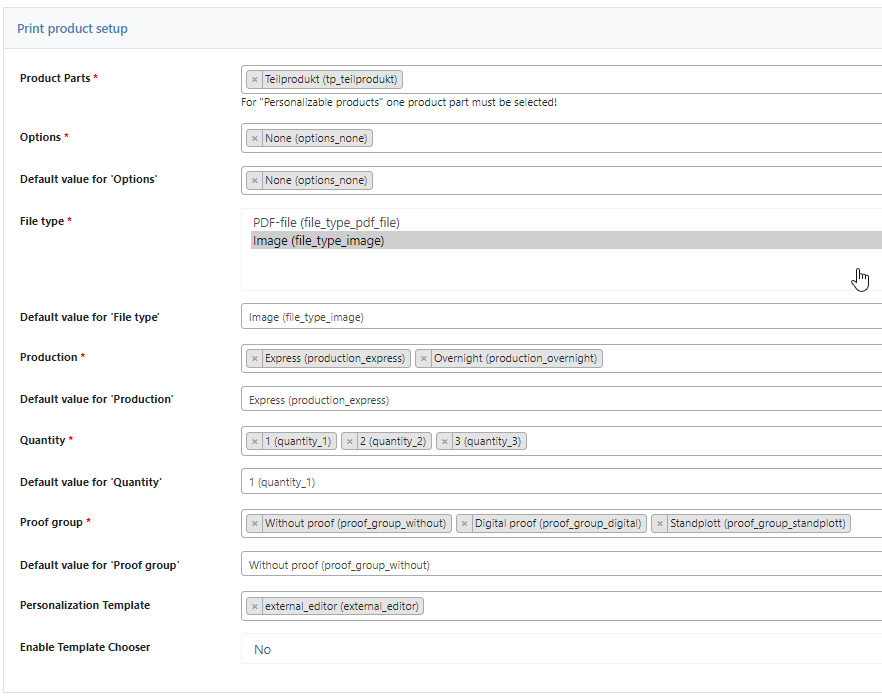
PRINT PRODUCT SETTINGS

Select all the Product Parts you need for your print product, for a brochure, for example, content and cover.
Specify a (common) default value for each of the selected options to be set as default, or leave the setting "No default value", in which case no default entry will be set in the front view of the store.
Click "Save" to make the product available in your store.
Web2Print
Production method
Here you select the production method to be used for sending the PDF and/or JDF file.
Number of production days
Here you enter the basic number of production days for your product. Production days from the partial production values will be added to this number.
Production days
Here you select on which days the product should be produced. If you leave the field empty, the production is valid from Mon - Sun. If you want to produce also over the weekend, please select all days in the field.
Weekend production
NO LONGER USABLE
Prinect ID
Enter the ID of the product for the Prinect interface here.
