The CloudLab menu
On the following pages, we will first present you with an overview of the various printQ functions from the CloudLab menu, before taking a closer look at how to create products.
PRODUCT PARTS
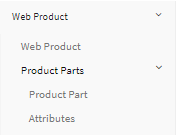
Product parts indicate printQ-print products. One print product can consist of numerous product parts, like for example a brochure would consist of the product part content and the product part cover. Here you can create product parts along with all necessary product part information.
Should you wish to add product part attributes, our support team will be happy to help you. In general, the standard tools of the system should be sufficient.
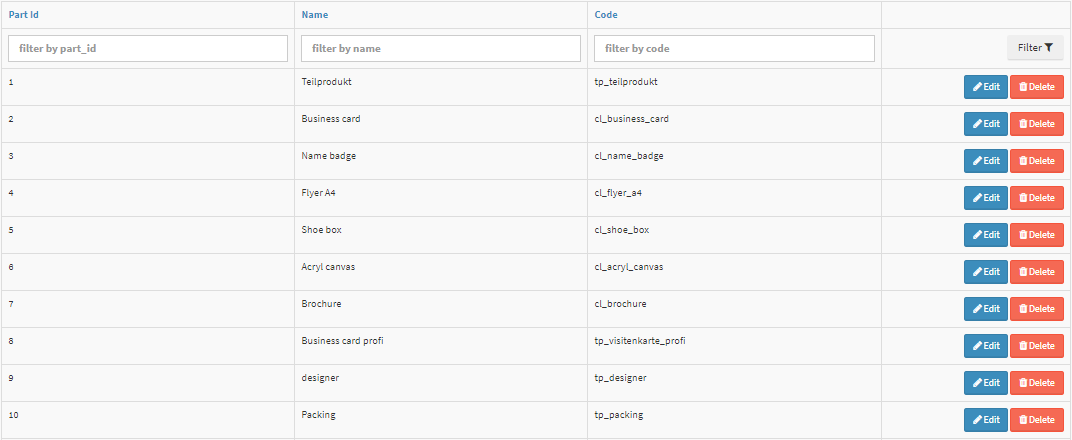
These additional product part features are displayed at the end of the product part view.

PAGE OPTIONS
Here you configure the product part options and their attributes. The differences between the product part options in Page Part and Product are explained in the chapter on the creation of matrix products (starting page 2.12).
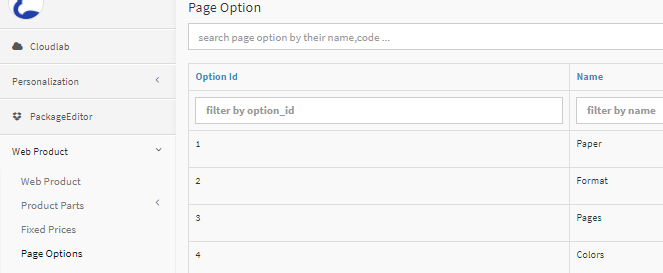
You can assign as many values as you wish to each product part option, and for example adjust your entire range of paper types. This is done under Page Options. First, choose an option (e. g. “paper“), then click Add New Value.

Additional attribute features, whether mandatory fields or not, can be added under CloudLab - Product Part Options - Edit - Attributes („Add new attribute“). Here you can also assign a name and a unique code to them and indicate the assigned product part option, the type of entry and a default value and description (optional).
Please do not create any product part options exceeding the seven page parts and five products. Products that have been created and published earlier can not be displayed in the shop anymore in this case, because they can‘t process the newly added product part options. Should you wish or need to make changes here, please contact CloudLab support before doing so.
FIXED PRICE
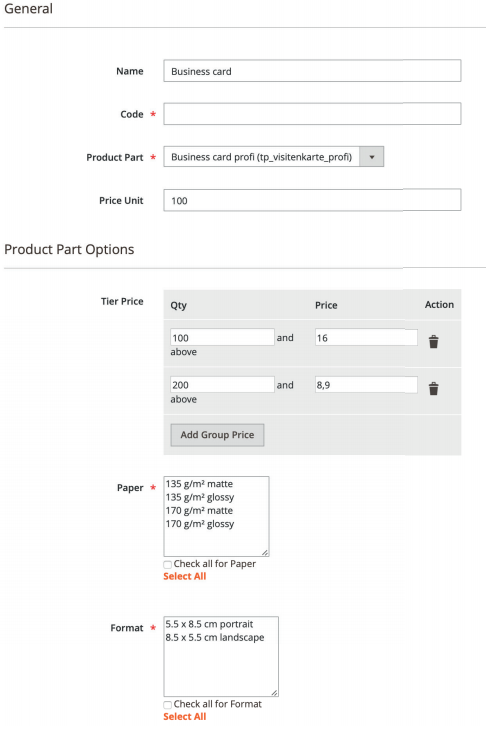
Here you can create and maintain fixed price lists for all appropriate product parts. Our image exemplarily shows the fixed price list for a business card, along with group tiered pricing and the assigned product part options for this pricing.
There is a detailed chapter on the calculation of printQ-print products (starting page 2.19).
RULES FOR PRODUCT PARTS
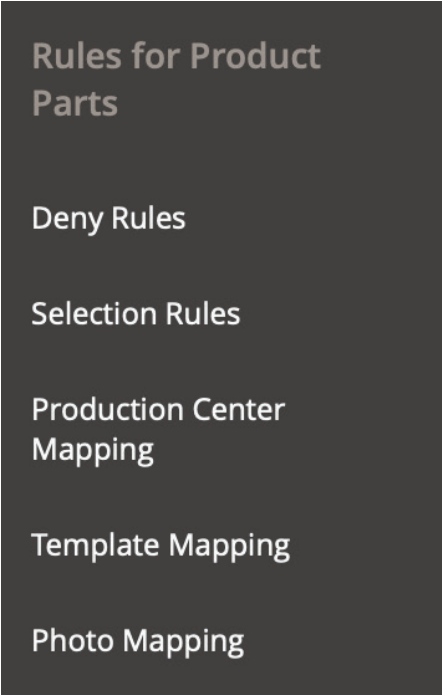
Under Product Part Selection Rule and Product Part Deny Rule you can determine which options should be available or prohibited for specific print products. For example, it might be sensible to prohibit certain paper types for brochures of a certain count of pages. Specific application examples for selection rules and deny rules can be found in the chapters on matrix products (starting page 2.12).
Production Center Mapping
Through Production Rule you can define a preliminary calculation number for individual products, which is used for the integration into MIS-systems and for mapping of products and/or product parts. The next two elements work in the same way
Template Mapping
A Template Rule assigns a PDF-template to a specific matrix selection. You can, for example, use different formats for products also in personalization products, if you assign the templates accordingly.
Photo Mapping
Photo Mapping works in a similar manner, but it refers to the preview images on the Magento product page. This function is not used by default, but it is available in case of a desired change in the design.
Factsheet Mapping
A Factsheet Rule assigns a PDF factsheet to a specific matrix selection. The factsheets need to be added to the folder pub/media/printq/factsheet. If the folder doesn’t exist by default, simply create it.
PRODUCTION METHODS
Manage your hotfolders for different print products here, along with the configuration of JDF- and print data transfers and including authentication via host, port, user and password and selection of hotfolder-target folder.
Click on the button „New“ in Production Methods, assign a unique name to your production method and select the respective JDF-template. The templates are deposited on the server in the folder /templates/jdf in phtml-format.
In the following input fields you enter access data and the hotfolder-target folder for JDF and print data transfer as well as the transfer type (FTP or SFTP).
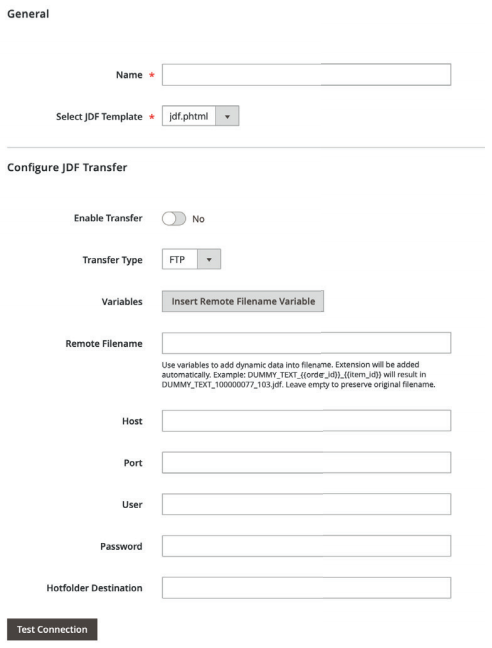
By creating various production methods depending on different printing products you ensure high efficiency in the production process and optimum utilization
Please always check whether a connection to the server (“Test Connection“) can be established. Contact our support if this is not the case.
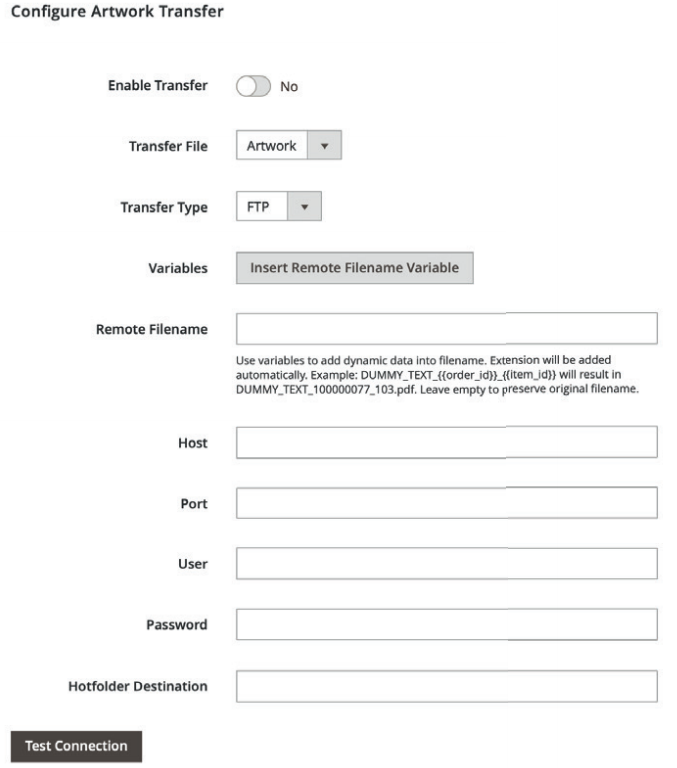
As soon as you have set up all available production methods (there is no limit to the number of methods), you can determine a production method for each printing product in Web2print settings via drop down-menu. During shop operation the normal process will start upon approval (in the approval workflow, if enabled), which is immediately after an order has been placed (closed shop) or after payment has been received (open shop).

