PDF UPLOAD TO A PERSONALIZATION TEMPLATE
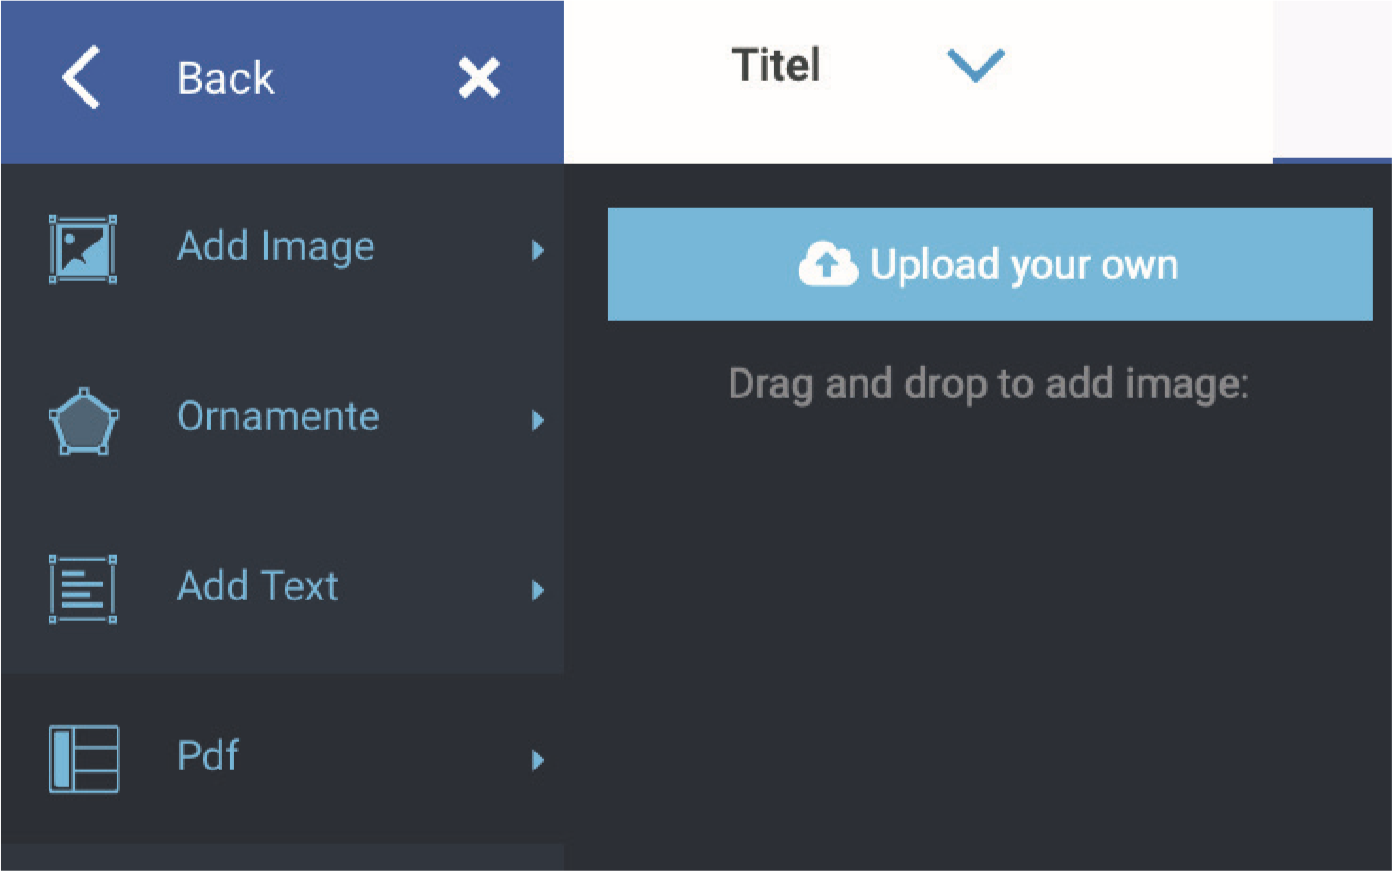
Under CloudLab - Data center - Personalization - Templates - All Templates - Edit in the section Options - Other Options , click “Yes” under Allow Upload PDF in order to allow your customers to upload PDF files straight to a personalization template.

This can be done via the tab “PDF”, which will appear in the OTP editor. After the upload, the PDF page can be positioned and scaled via drag&drop.

ACTIVATE ZOOM
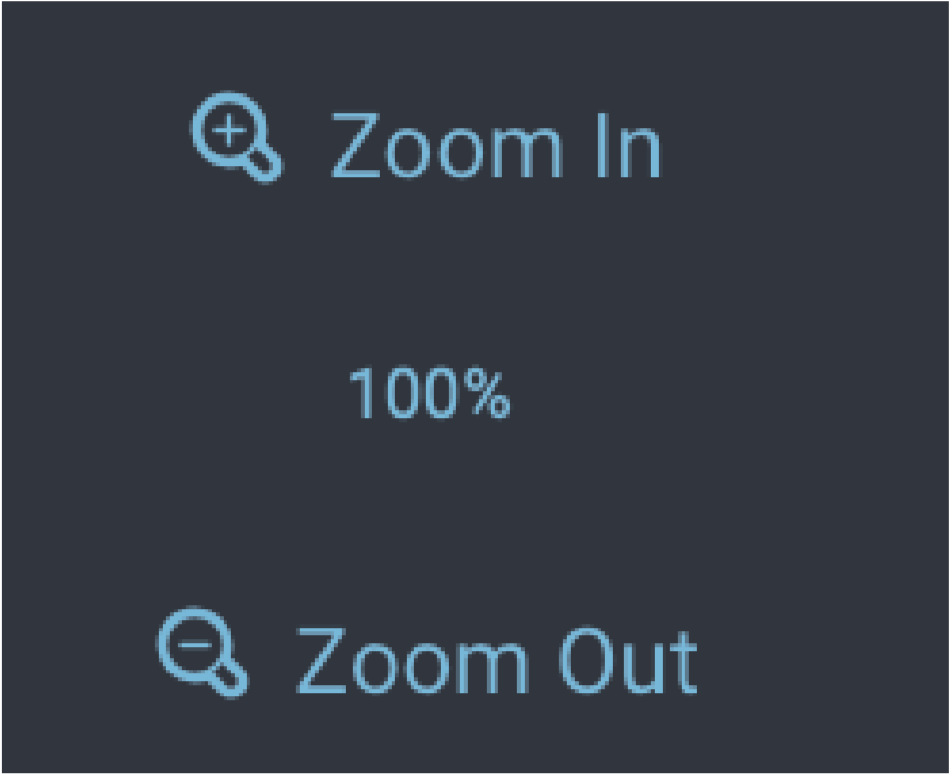
Under CloudLab - Data center - Personalization - Templates - All Templates - Edit in the section Options - Other Options, click “Yes” under Allow Editor Zoomer in order to provide your customers with a zoom function for the OTP editor.


In the frontend, new zoom icons appear in the lower left corner, which can be used to enlarge or reduce the template view. The zoom is specified in percent.
SHOW GRID
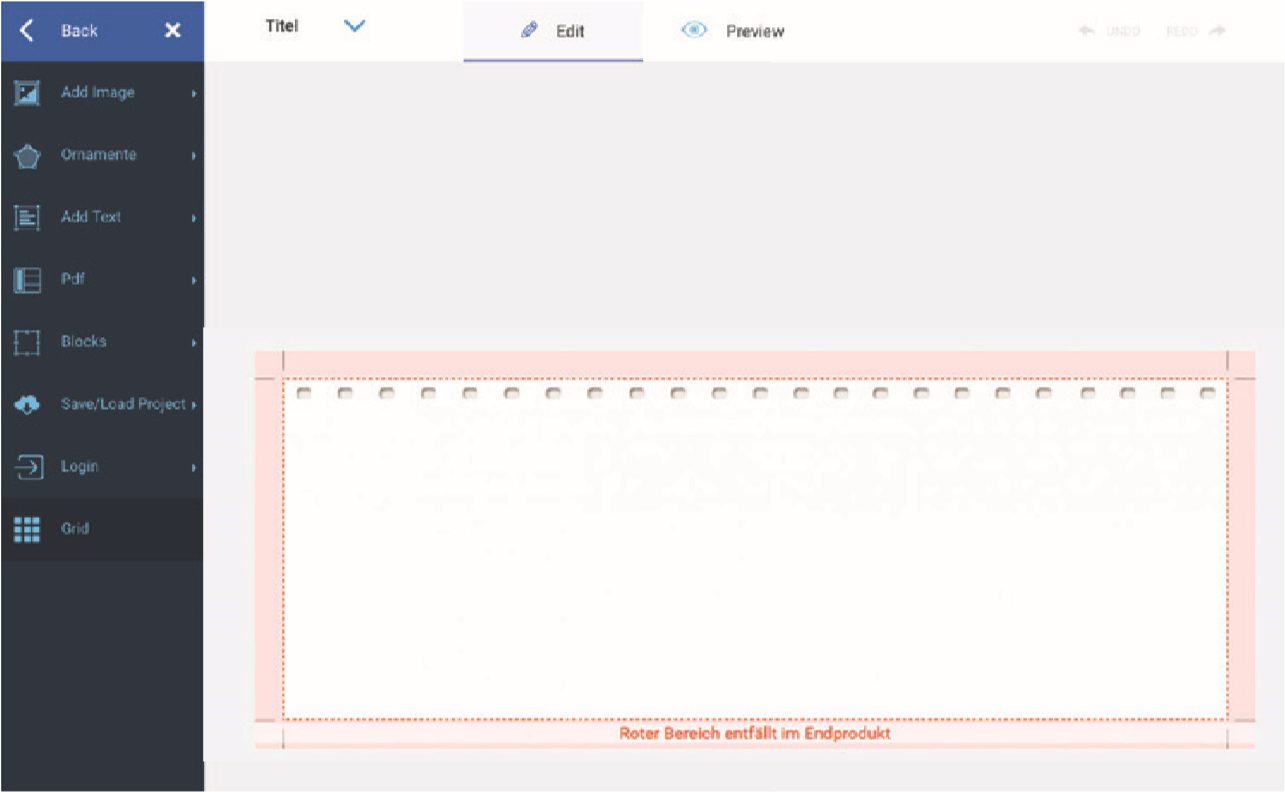
In order to facilitate the alignment of content, a grid view can be placed over the templates. Under CloudLab - Data center - Personalization - Templates - All Templates - Edit you can activate this function by clicking “Yes” in the section Options - Other Options under Allow Grid.


In the editor, a new button “Grid” will be displayed on the left. Activate the option by clicking the button (green = active) and the grid will appear. Use the slider to adjust the field size.

COLORING OF INDIVIDUAL TEXT SECTIONS
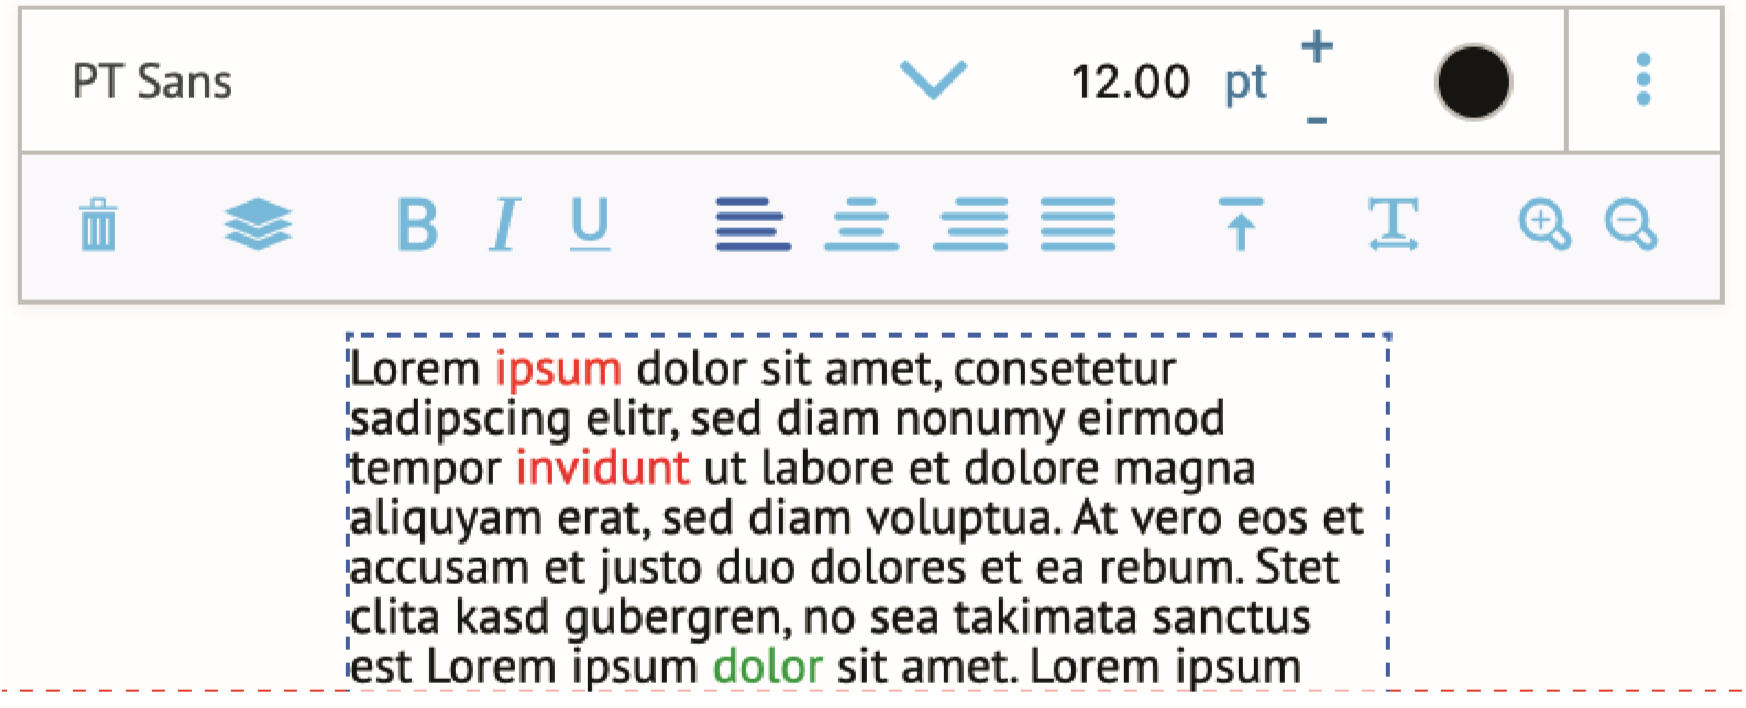
Under CloudLab - Data center - Personalization - Templates - All Templates - Edit in the section Options - Other Options, you can click “Yes” under Allow Inline Color and allow your customers to change the color of selected multiline text segments in the editor.

After multiline text has been inserted, a section of the text can be selected and recolored via the then appearing color wheel.

