Packaging Editor - Configurator (X1)
This manual explains how to create and configure packages with out packQ box library (DVS) and import it into our packaging editor.
1. Create a new model
First click on “Packaging Editor” in our datacenter and press “Configurator”. You are asked to add a name for your new model.
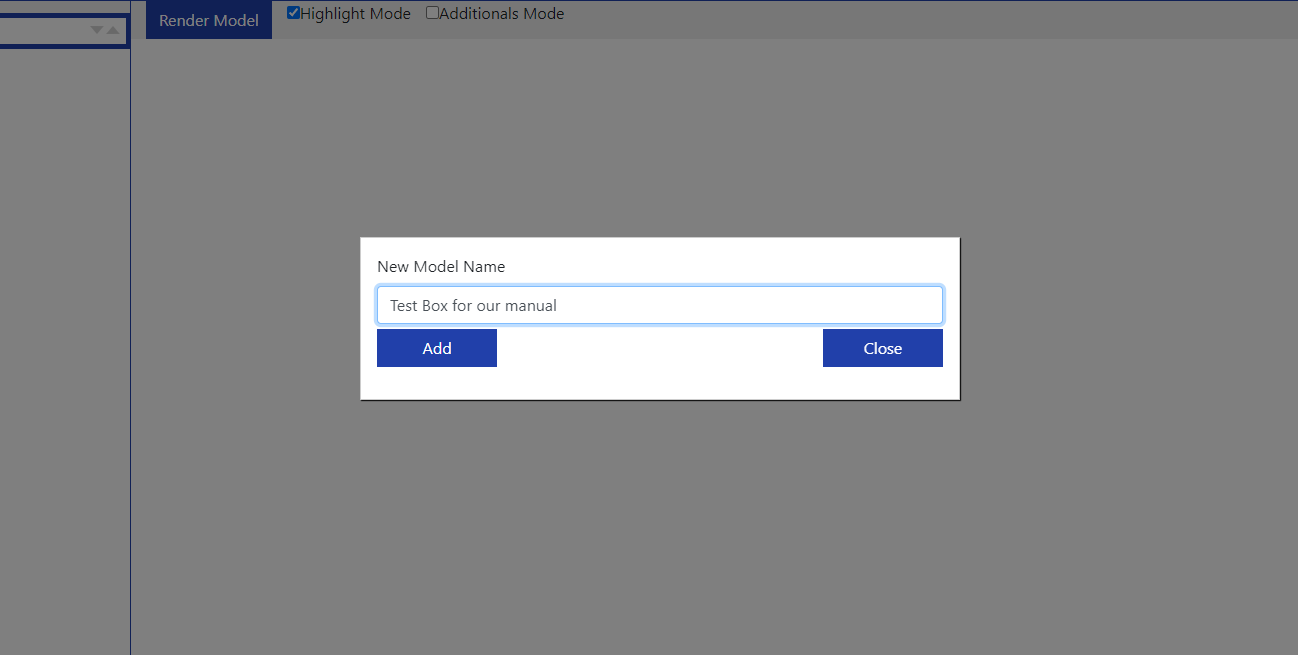
Once you confirm your new model name you get redirected to our box configurator
2. Configure the model
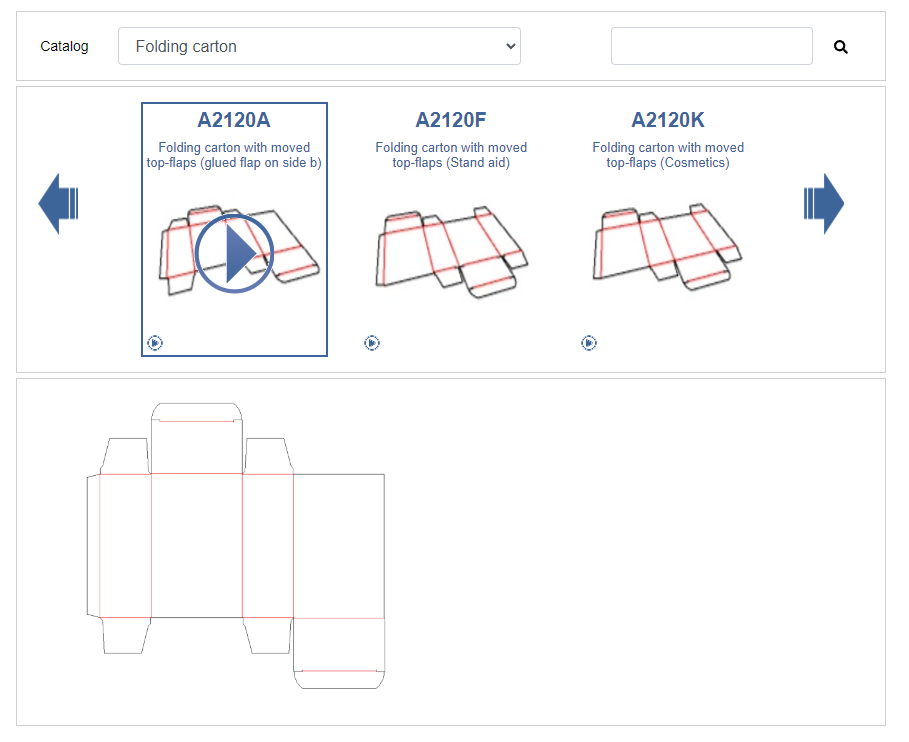
The configuratior offers a simple way to configure a box before your import it to our backend. Select a topic from the “Catalog” dropdown and choose the model. Also you can use the search function to find your requested model easier.
You confirm your selection by click on the image directly. Depending on the model you choose you will get guided through the configuration where you can select e.g. the flaps, savety locks or else.
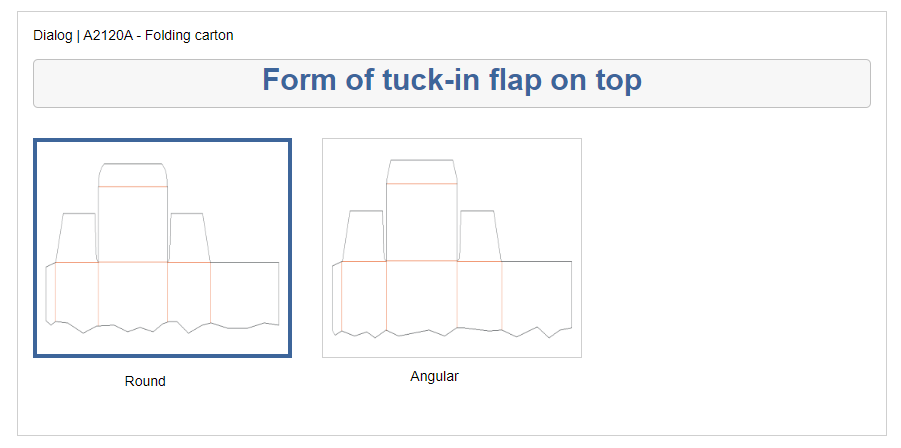
The last page includes the variables for your box. Here you have to set up the default values. The variables can be different from model to model.
Important: Write down the variable names and description. They can be different from model to model.
We highly recommand to later change them to the packQ standard variables to have a clean system.
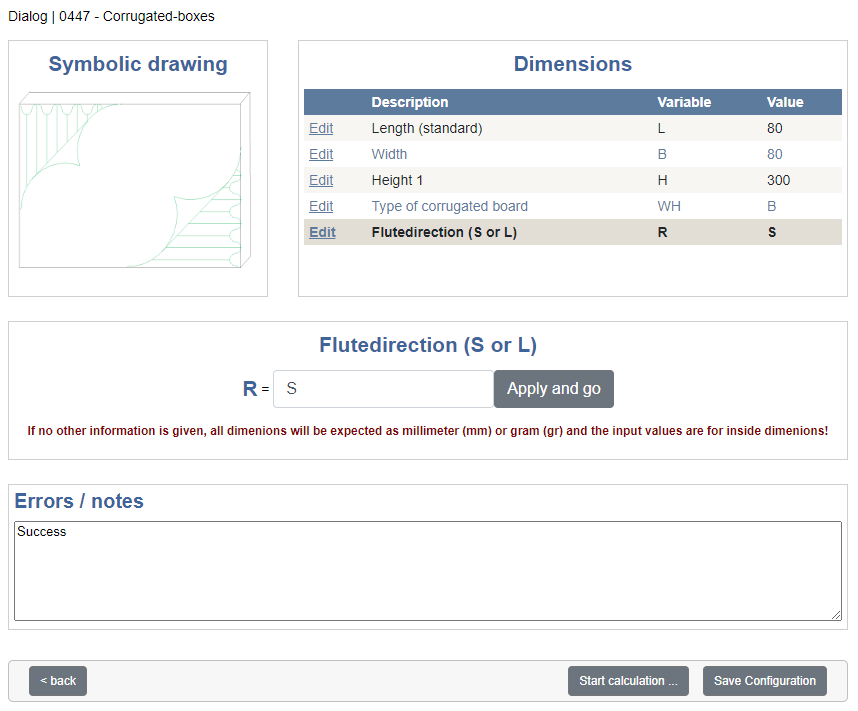
As a last step you have to click on “Start calculatio”. You will get a success message or a detailles error message if your varialble are e.g. not possible (flap must have a sice over X, hight must be smaller than width, …).
If everything is fine click on “Save Configuration” to add the new model to our backend.
3. Change Variables and add min/max
Once the box is loaded into our packaging editor you should save your progress (better save than sorry).
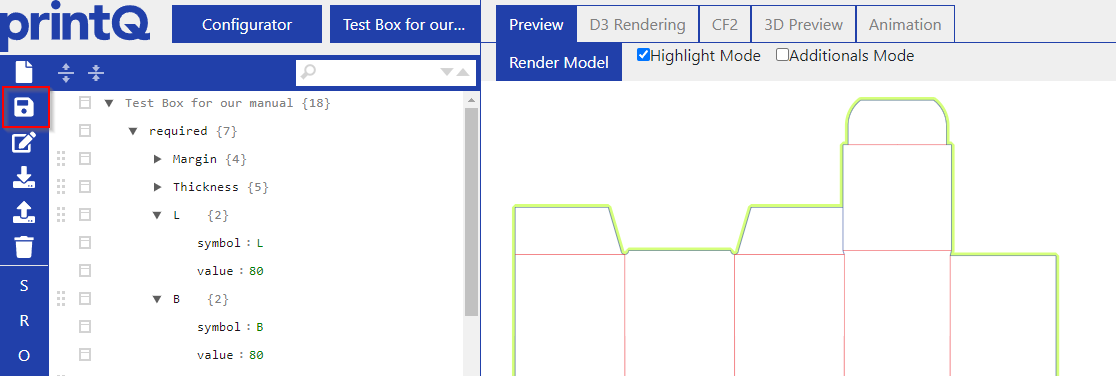
Next you can render a preview, D3, CF2 or 3D Preview.
On the left side you have to open the “required” tab from the list to see the variables again. These were static in the configurator (and had confusing names like “A”). So these need to be adjusted.
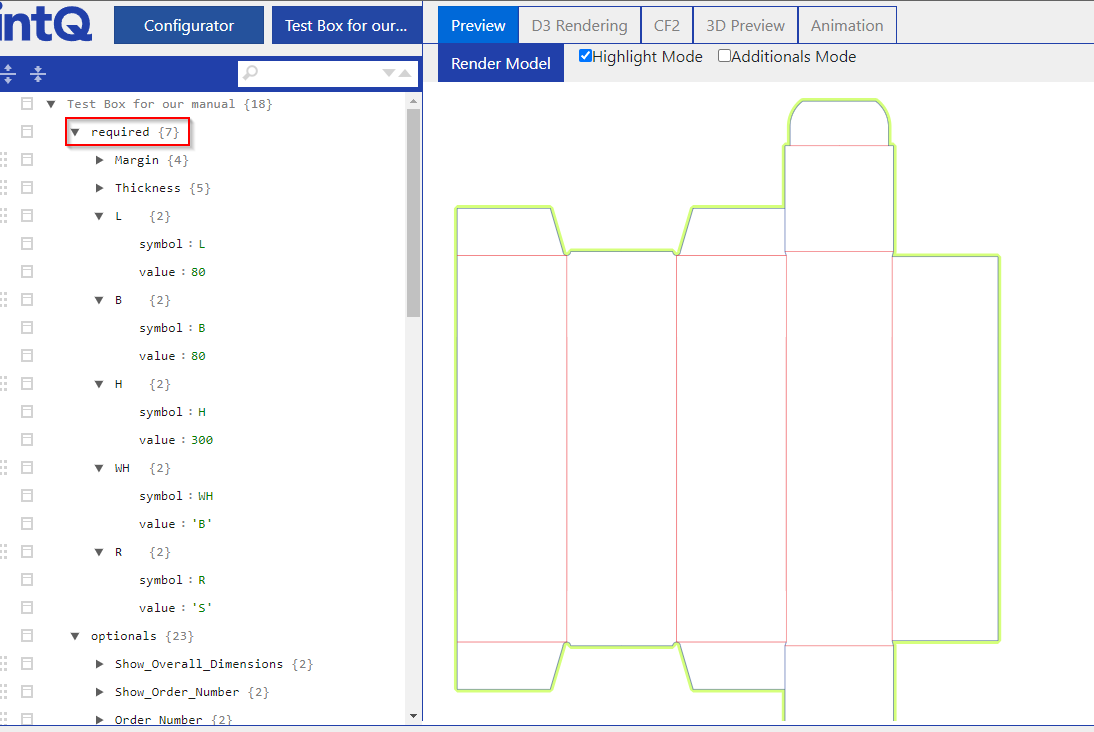
Click on the Variable name to see a list with possible input field on the bottom of the editor. Change the Name of the variable to our packQ default names and the symbol to something matching. Also add the minimum and maximum value for this variable (in mm) and confirm your changes by click on the “Save” button.
Below you can find the list with all existing variables and their names to use.
Variable Name (in page options) | Variable Name (in packaging editor. This is how you should name them) | Variable Symbol (Just a recommandation) |
|---|---|---|
Packaging Depth | Depth | D |
Packaging Length | Length | L |
Packaging Width | Width | W |
Packaging Height | Height | H |
Packaging Inner Diameter | Inner_Diameter | ID |
If you name your variables for the model different than in this table, you have to add a new attribute to the format. The code for this variable must be “packaging_<your_variable_name>”.
it is not recommended to do this.

Next scroll down to the bottom of the list. You will find a setting called “Limits”. Here you can ad customized limits with unique error messages for your customer. This can be used to make e.g. sure that the Length is always smaller than the width (if it’s needed) for your model.

Save your rule by click on “Add”.
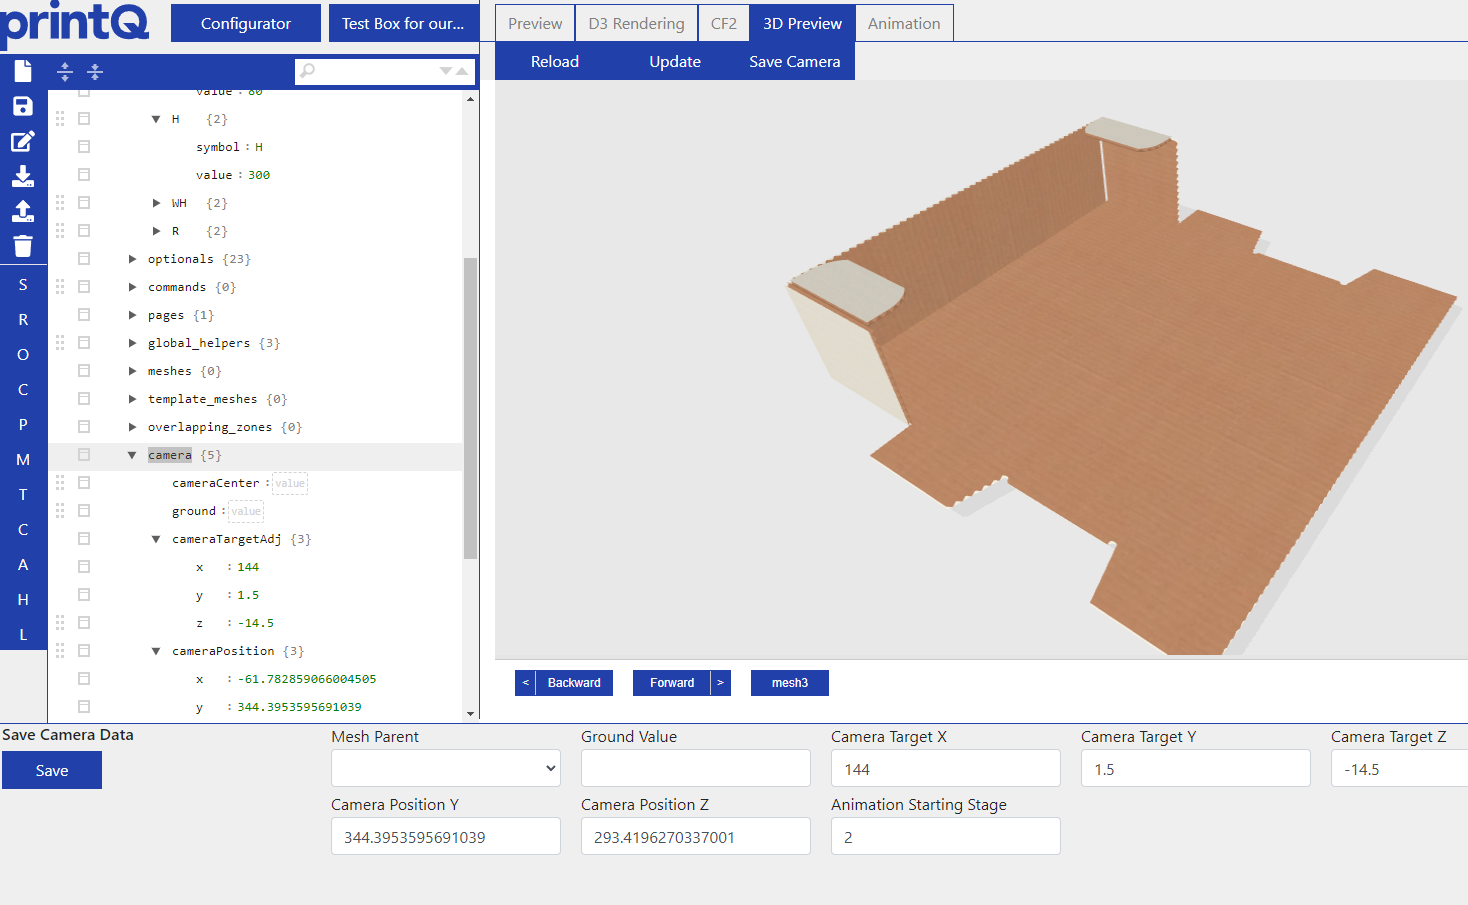
3. Check 3D Model and animations and adjust camera angle
Last but not least you should check the 3D model and the animations. Our software will generade folding animations for every area (mesh) related to a folding line. This will not always work. If you find some not working animations please contact our support. Please directly forward the name of the model and a description how the animation should work correctly.
If this is done you just have to adjust the camera. The position of the 3D Model in the area is the same customers will see it on the product page. Use your mouse and drag and drop the model in the position of your choice. Once this is done click on “Save Camera” and then on “Save” on the lower left.
