Creating personalization products for the form editor
Along with the matrix-products, personalization products are the printQ print products which provide your customers with the greatest variety of customization options. The following pages will guide you through the multitude of possible settings.
In order to be able to offer personalization products in your shop, you need to create personalization templates first. You will need Adobe Acrobat Pro or Standard (available under https://creative.adobe.com) as well as the PDFlib block plugin version 5 or later, which you can download free of charge from https://www.pdflib.com/de/download/pdflib-familie/block-plugin-50/. Alternatively, you can also upload InDesign documents as personalization templates in printQ straight away to create personalization products. However, these have to be compatible with PDFlib functions and may not have any different settings. This is why we explain the functions of PDFlib first, before introducing you to direct uploads via InDesign.
PRINTQ AND PDFLIB
The printQ system uses the possibilities of the PDFlib plugin for the creation of variable print documents. Using the plugin, you can define customizable areas in a document, for example a field on a business card, in which the user can later insert his name. PDFlib will appear in the Acrobat toolbar after the installation and smoothly integrates into the application. The PDF templates are created in common desktop publishing programs (DTP) like Adobe InDesign, QuarkXpress or in the open source program Scribus. If you have Adobe Acrobat and PDFlib installed, you can start.
CREATING PERSONALIZATION TEMPLATES WITH ACROBAT AND PDFLIB
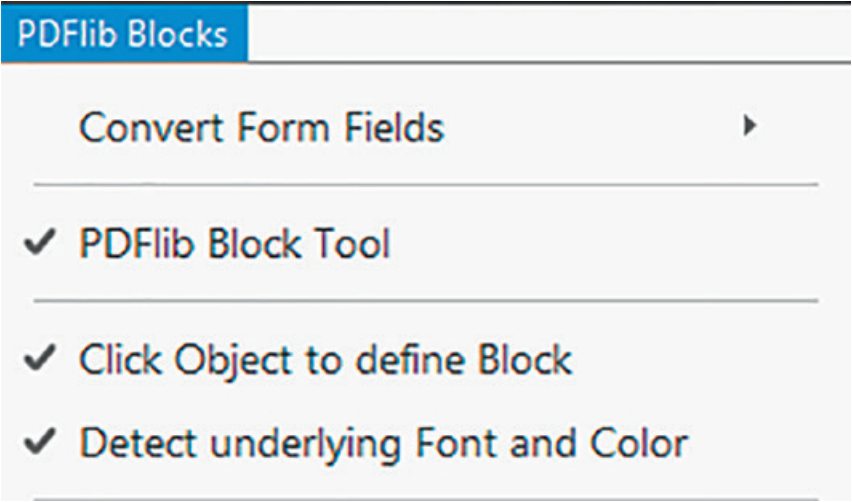
The procedure is similar to work in common DTP-programs. First you open a prepared PDF in Acrobat. In our example this is a readily designed business card containing the usual information. Activate all three options in the menu PDFlib Block.
For precise alignment of the content frames to be created, you should use rulers. You will find these under View – Show/Hide – Rulers & Grids – Rulers.
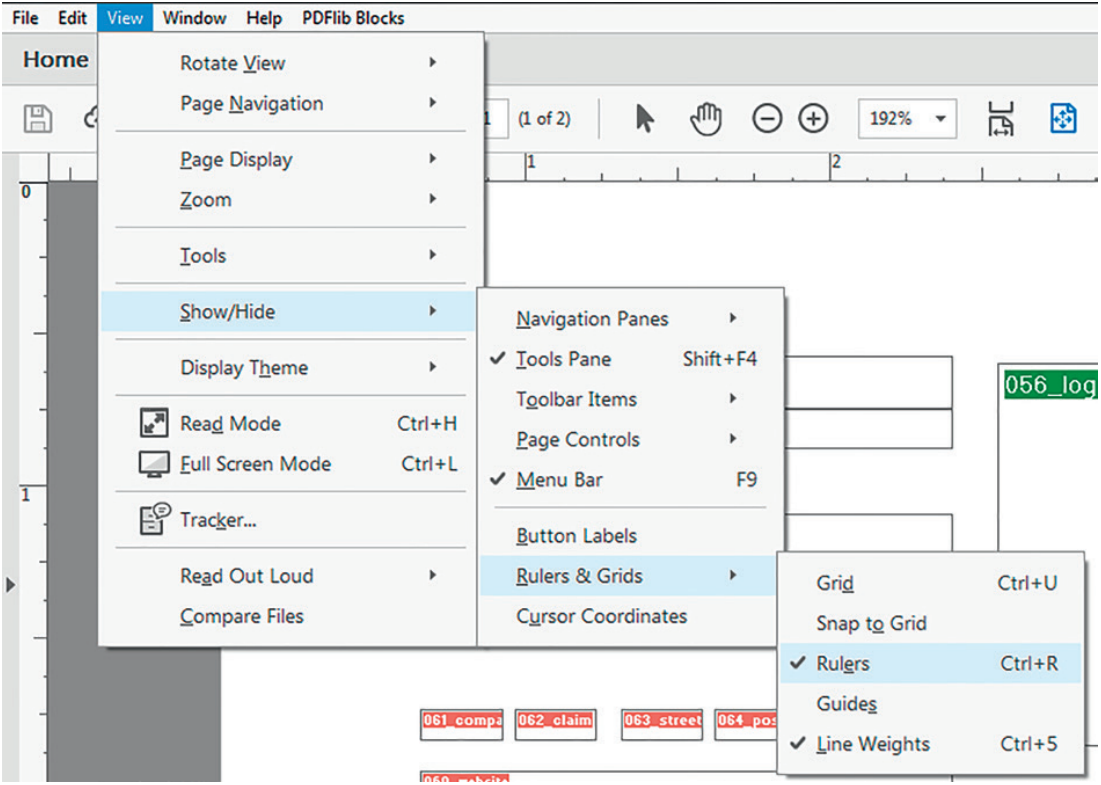
Now that you have opened your PDF, you can draw a frame around the areas you have intended for personalization, with the left mouse button held down. The PDFlib blocks set in your document in this way will appear as fillable fields in your customizable product. You can later adjust the frames with millimeter precision. Once the frame is drawn, a new window with the block properties will open automatically.
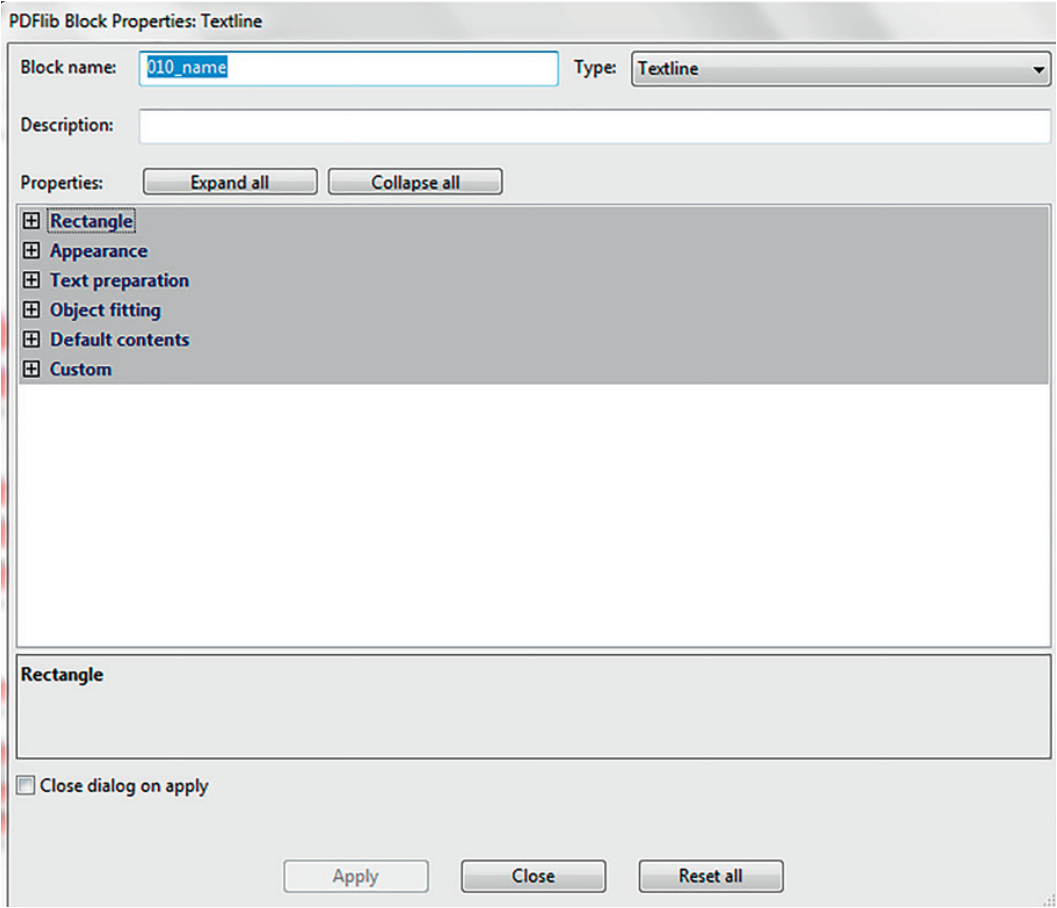
You should first assign a unique Block name.

You should consider a few naming conventions here. Only certain symbols are supported: Capitals, lower cases, ciphers and underscores. Please, do not use umlauts, punctuation marks or special characters. Frames are sorted alphabetically by the block names. Thus, for better control over the sorting order, it is advisable to put a number before each block name.
010_First name
020_Last name
030_E-mail
The major advantage of this kind of name assignment is its great flexibility: Should you need additional fields at a certain point of your designing process, you can easily place them between the existing ones. For example:
009_Title
021_Name assignment
Even blocks of more complex variable print products can be named using this method, for example with an additional leading zero:
0010_First name
0020_Last name
0030_E-mail
These naming conventions are just suggestions, which have repeatedly proven themselves in practical use. They are not mandatory, though. Groups of input fields (more on this later, starting page 4.17) are also displayed in alphabetical order; we therefore recommend you to use the same strategy here.
BLOCK PROPERTIES
On the right, next to the field Block Name, you will find the entry for the type of the block. It describes the content of the block, which you just created, in a very general manner. It could be a number of different text fields, or a block with a graphic content. Various different properties are linked to Block Types, and you can adjust them in detail in the bottom window.
Textline
The type Textline contains a single line of text, for example the last name.

Textflow
This type allows the user to, for example, enter multiline text into a field. You can predefine the behavior of the text in such way, that, for example, text will be cut after a certain number of characters, or font size or character spacing is decreased. Textflow fields can also be connected to each other in such way, that one block transfers content to the other one.
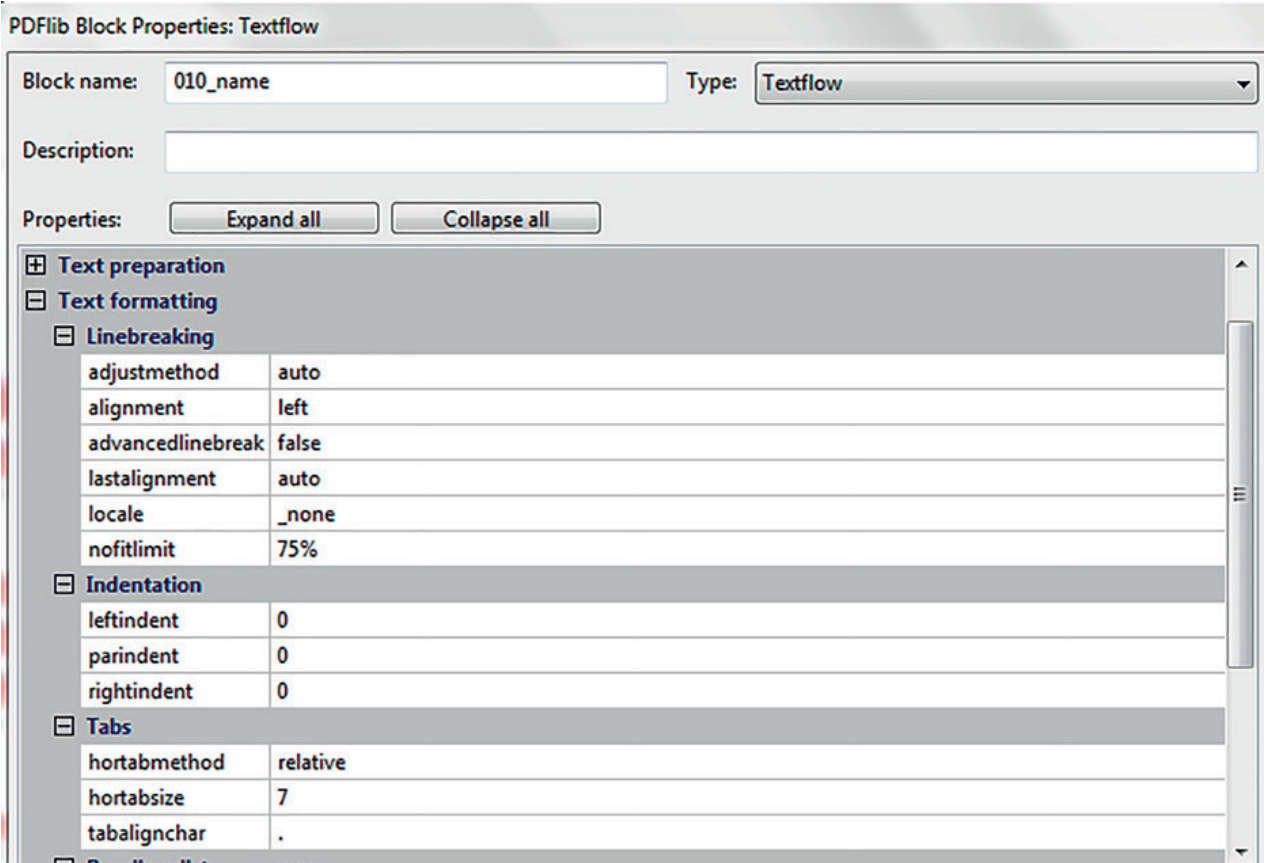
Image Blocks
This is where you place image files in JPG or PNG.
PDF Blocks
Here you can insert PDF-files (only applicable for the form editor).
Graphics Blocks
This is the place for vector graphics, like for example SVG-files (only applicable for the form editor).
The initial document, in this case a business card (should your document contain any elements in the bleed, please also use the respective PDF-file), becomes:
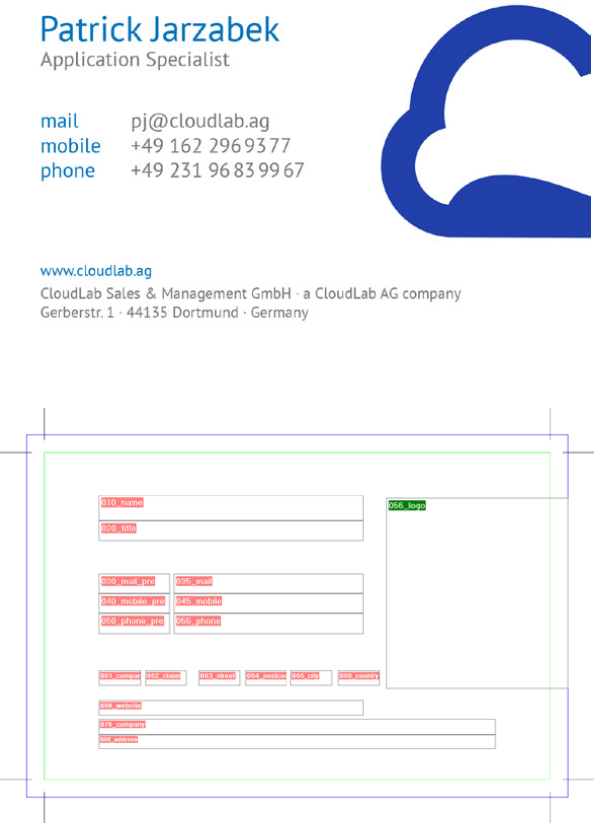
Every newly created block will automatically recognize font and color of the selected text, given that automatic font and color detection is enabled and the font is embedded, not only defined as a path.
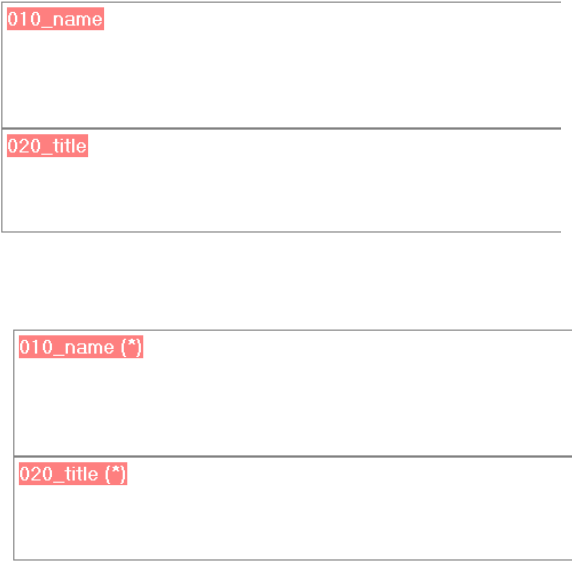
You can easily recognize changes within a block which have not been saved by the asterisk next to the block name.
As soon as the PDF and thus the change has been saved, only the name of the block will be displayed.
Once you have placed and set all PDFlib-blocks, remove all static elements, which will be replaced with variable elements by the customer. Alternatively, you can remove the elements from your layout program and create a new PDF-file.
USER DEFINITIONS
In addition to the default block settings (a complete overview can be found on the PDFlib-websites: http://www.pdflib.com/fileadmin/pdflib/pdf/manuals/PDFlib-blocks-E.pdf), you can create additional block properties via string-type user defined properties. Select „User defined“ in the property field, which you can open by double clicking the block, and then click „New“.
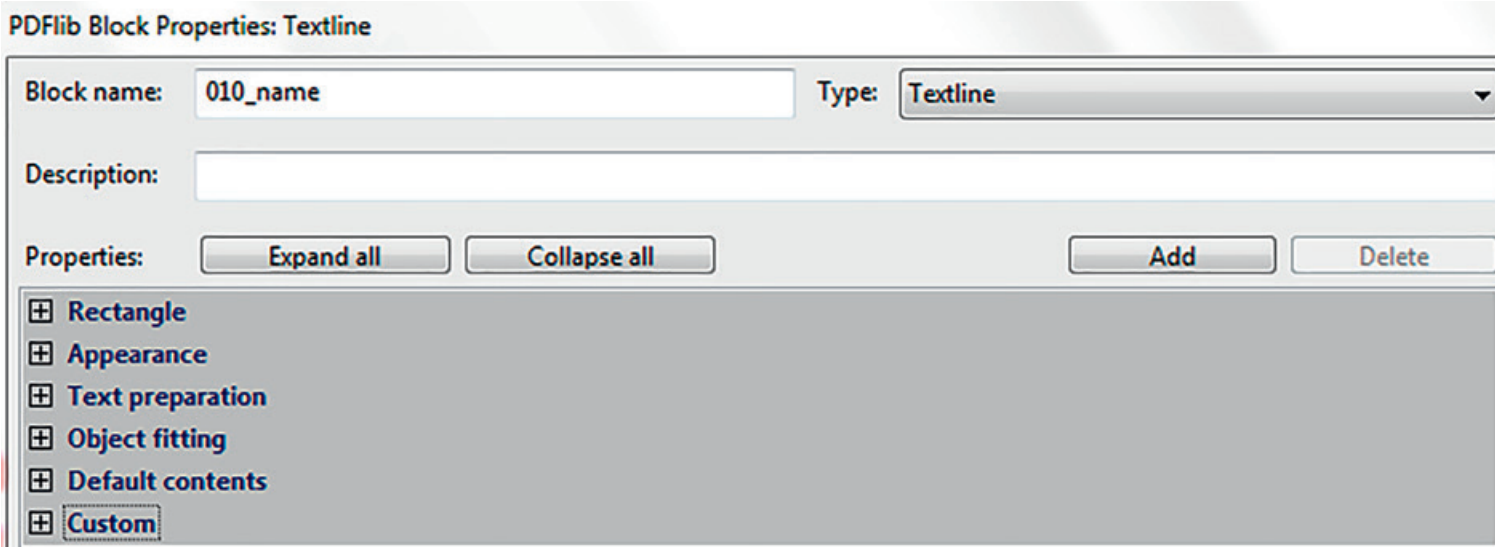
You can edit properties by clicking on the three dots on the right. These will appear when a property is selected.
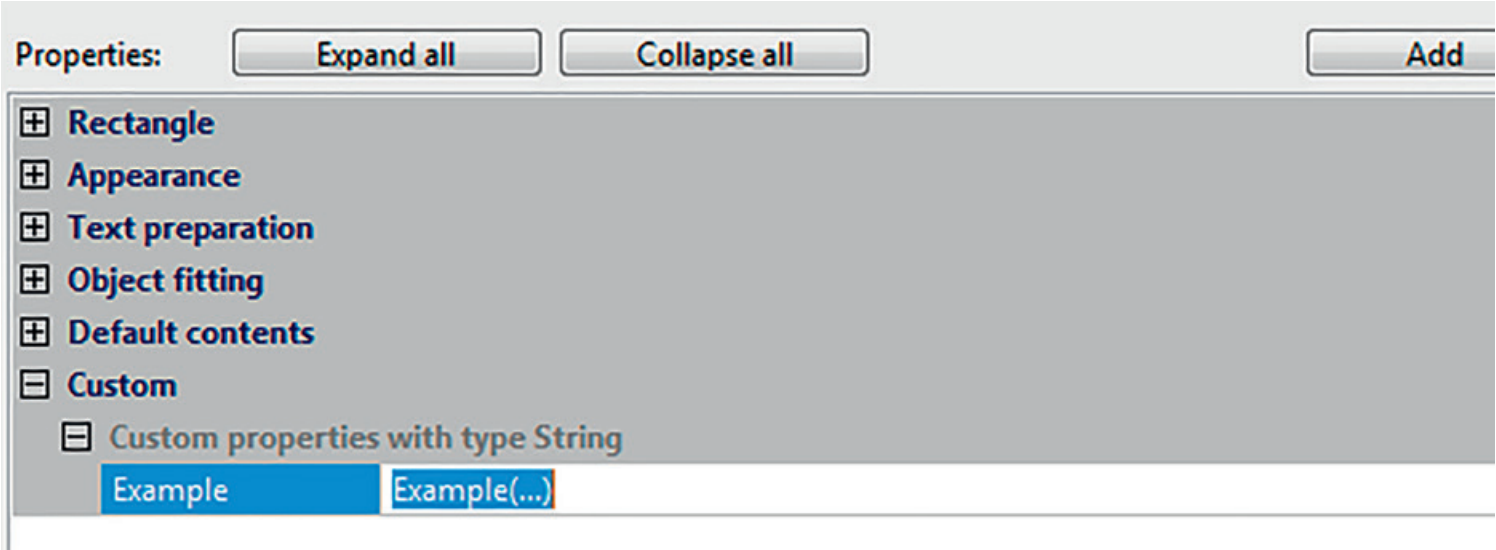
An overview of the possible PDFlib parameters and the custom PDFlib block properties can be found at the end of this chapter (starting page 4.16).
PROVIDING PDF WITH BLOCKS FOR PRINTQ
After you have deleted all static texts and elements, which are to be replaced by variables – or customer input – later, save the edited PDF-file, including the newly created PDFlib-blocks, in Acrobat Pro or Standard.
WEB2PRINT SETTINGS
For smooth allocation of the personalization product, please determine the following settings in the Web2print settings of the Magento product:
Product type: Personalization
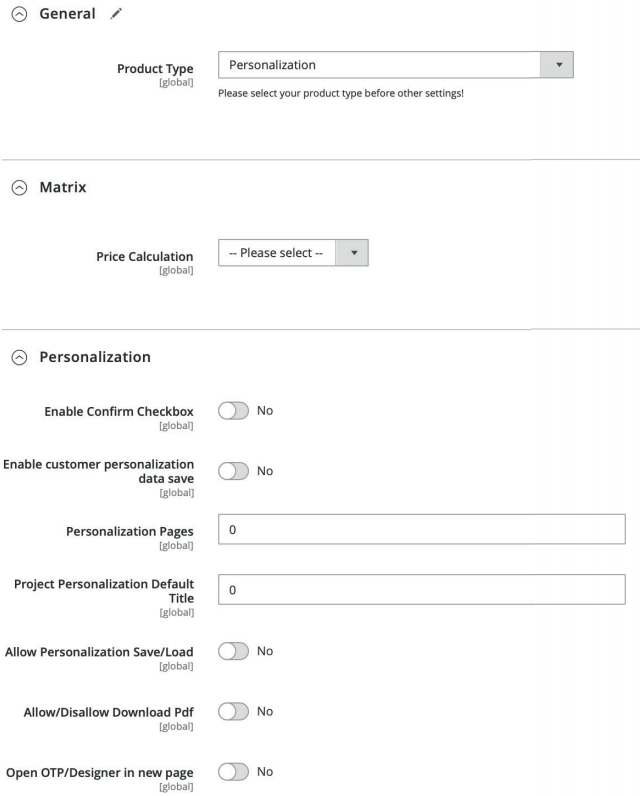
Moreover, you can enable the save function to allow your customers to download a PDF of the business card, optionally also with a watermark (see page 2.4 for Web2print settings).
PRINT PRODUCT SETUP
Now you connect the product part to the personalization template by selecting the appropriate template from the list in the section Personalization Template. The settings are very similar to those for the matrix product. However, you need to select the respective personalization template.

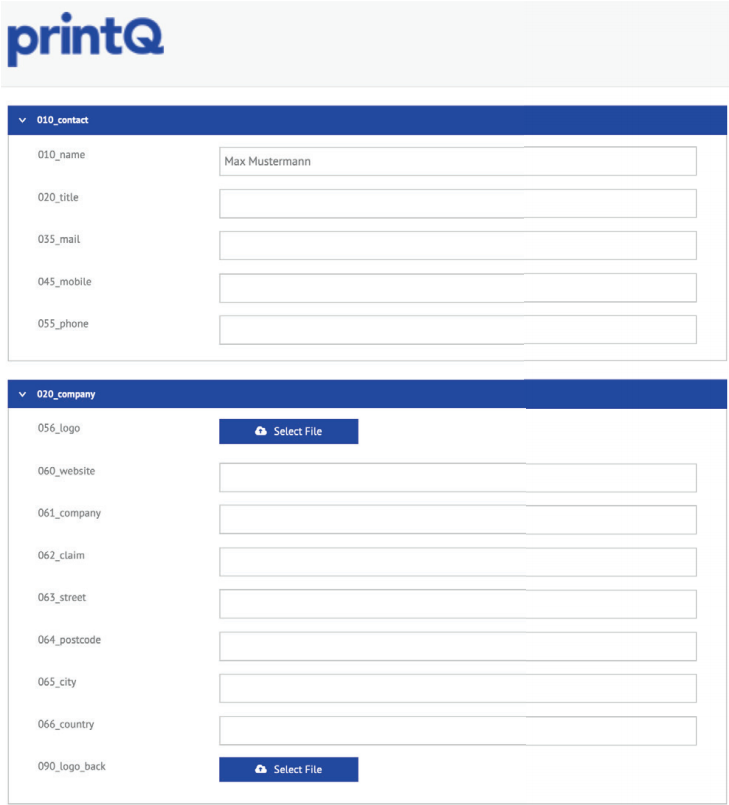
In frontend it will look like this in the form editor:
