Creating and entering personalization data
Firstly, personalization data is personal shop customer data, which customers can deposit in their respective customer accounts. printQ provides you as the shop owner with a dynamic database, which lets you choose the data you want to retrieve. If a customer account contains all relevant data, for example input fields for a business card can already be prefilled in frontend configuration.
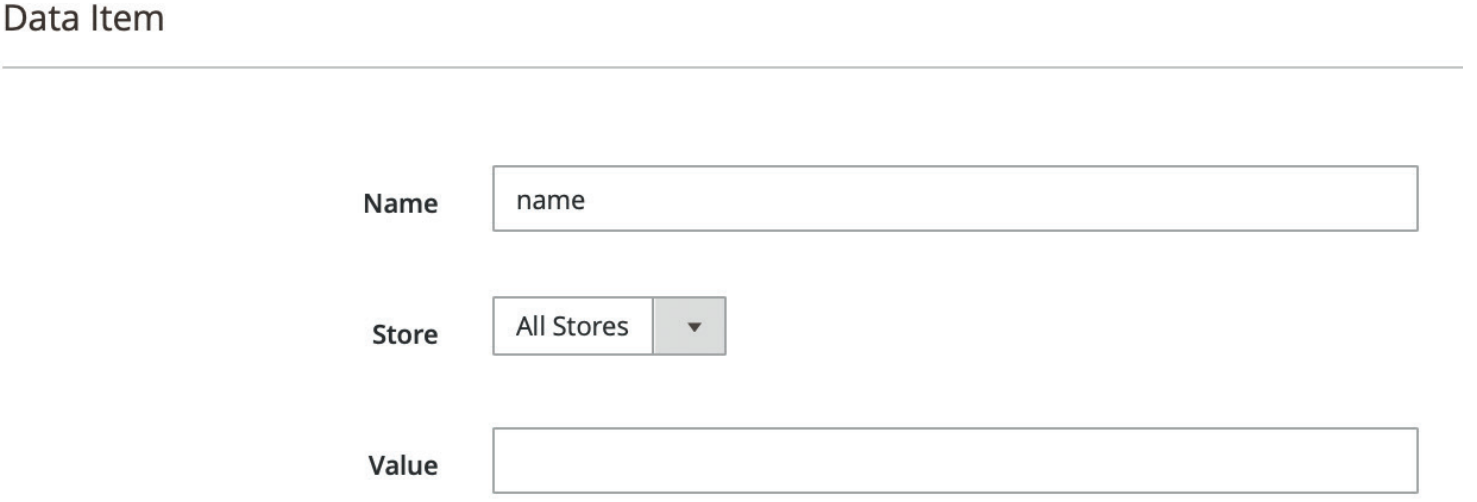
In order to gather personalization data, switch to CloudLab - Personalization – Personalization Data in backend and click “Add New“. Enter the name of the information you wish to retrieve (here: “name”) in the object data under Name. In our case the data shall be applied for all shops (All Stores), and the value, which will be displayed to the customer prefilled in his account, shall be: “First Name – Last Name”.

Here it is important to consider how you named your PDFLibblocks in the personalization templates (starting page 4.17).
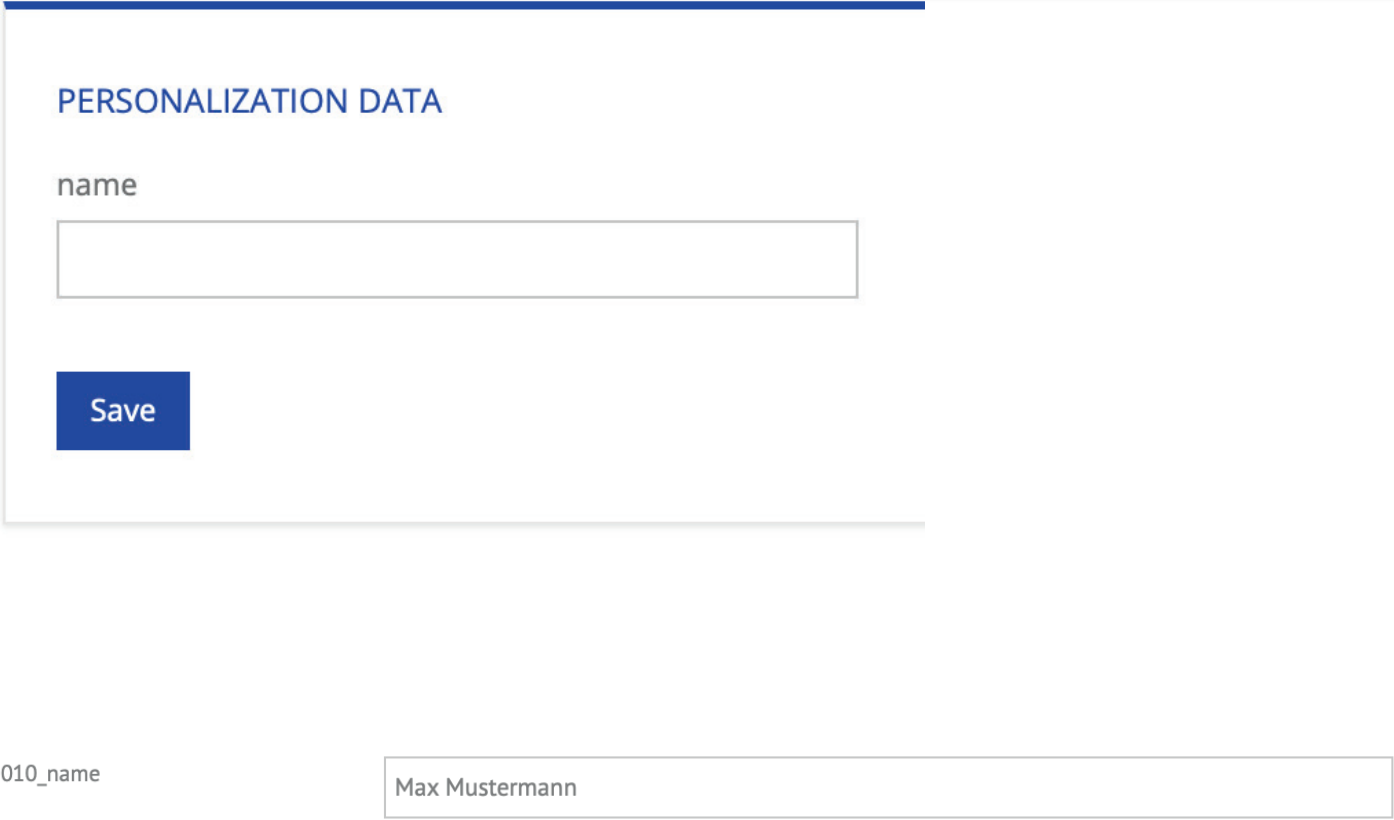
If the value of the block “010_name“ in your business card is „@name“, printQ will retrieve this exact variable (without the prefixed “@“!) from the personalization data. Please make sure you use the exact same spelling. The same applies for all other input fields of your business card. The name of the object data is therefore directly related to your personalization templates.
In frontend the user can now deposit his personal information in his account by clicking Personal Details, just as you determined.

Information entered by the user is automatically copied to the respective printing product, here: the business card.
Automatic transfer of the values only works while the customer is logged in.
Otherwise, the preset default value will be displayed, here: “First Name – Last Name”.

You can create individual personalization data input screens for each shop. Presumably, the data considered relevant by a sports club will be different from that of an insurance company or a school class. You are not limited to fixed values in the field “Value” here, but you can also retrieve and fill in data from the customer account via PHP. Our support will gladly assist you with this.
